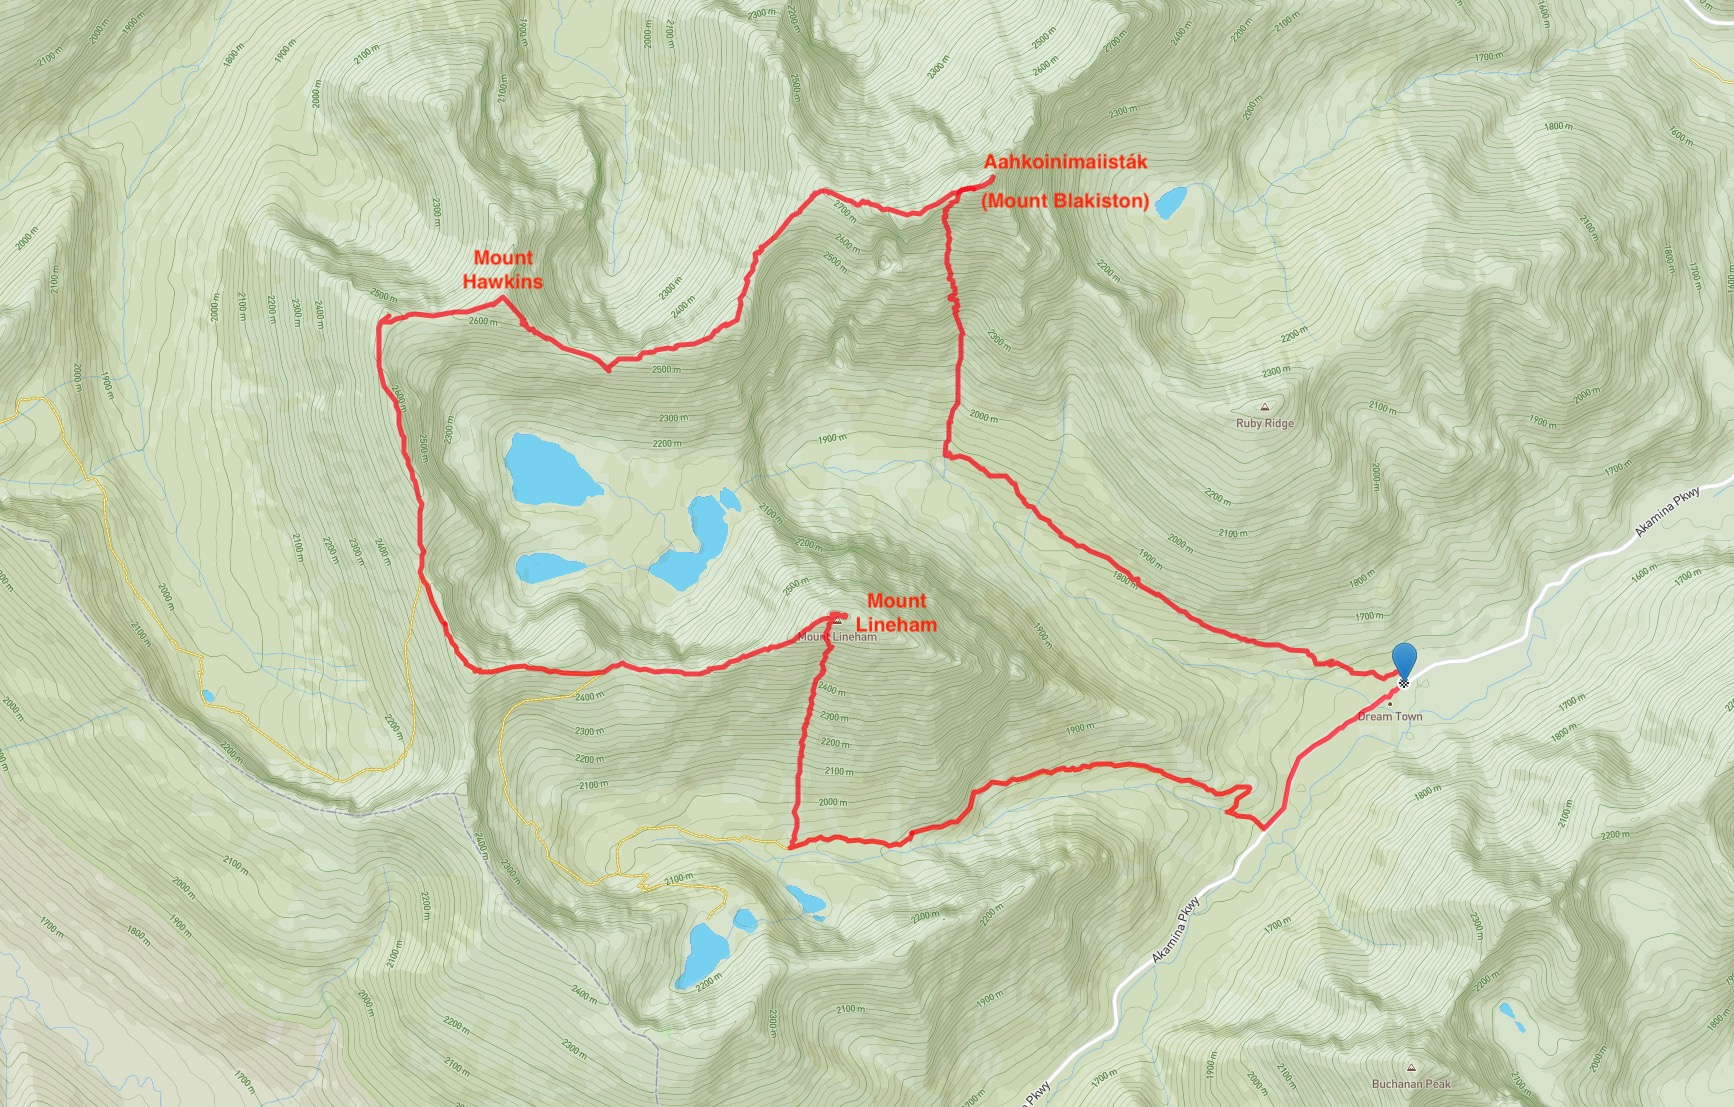
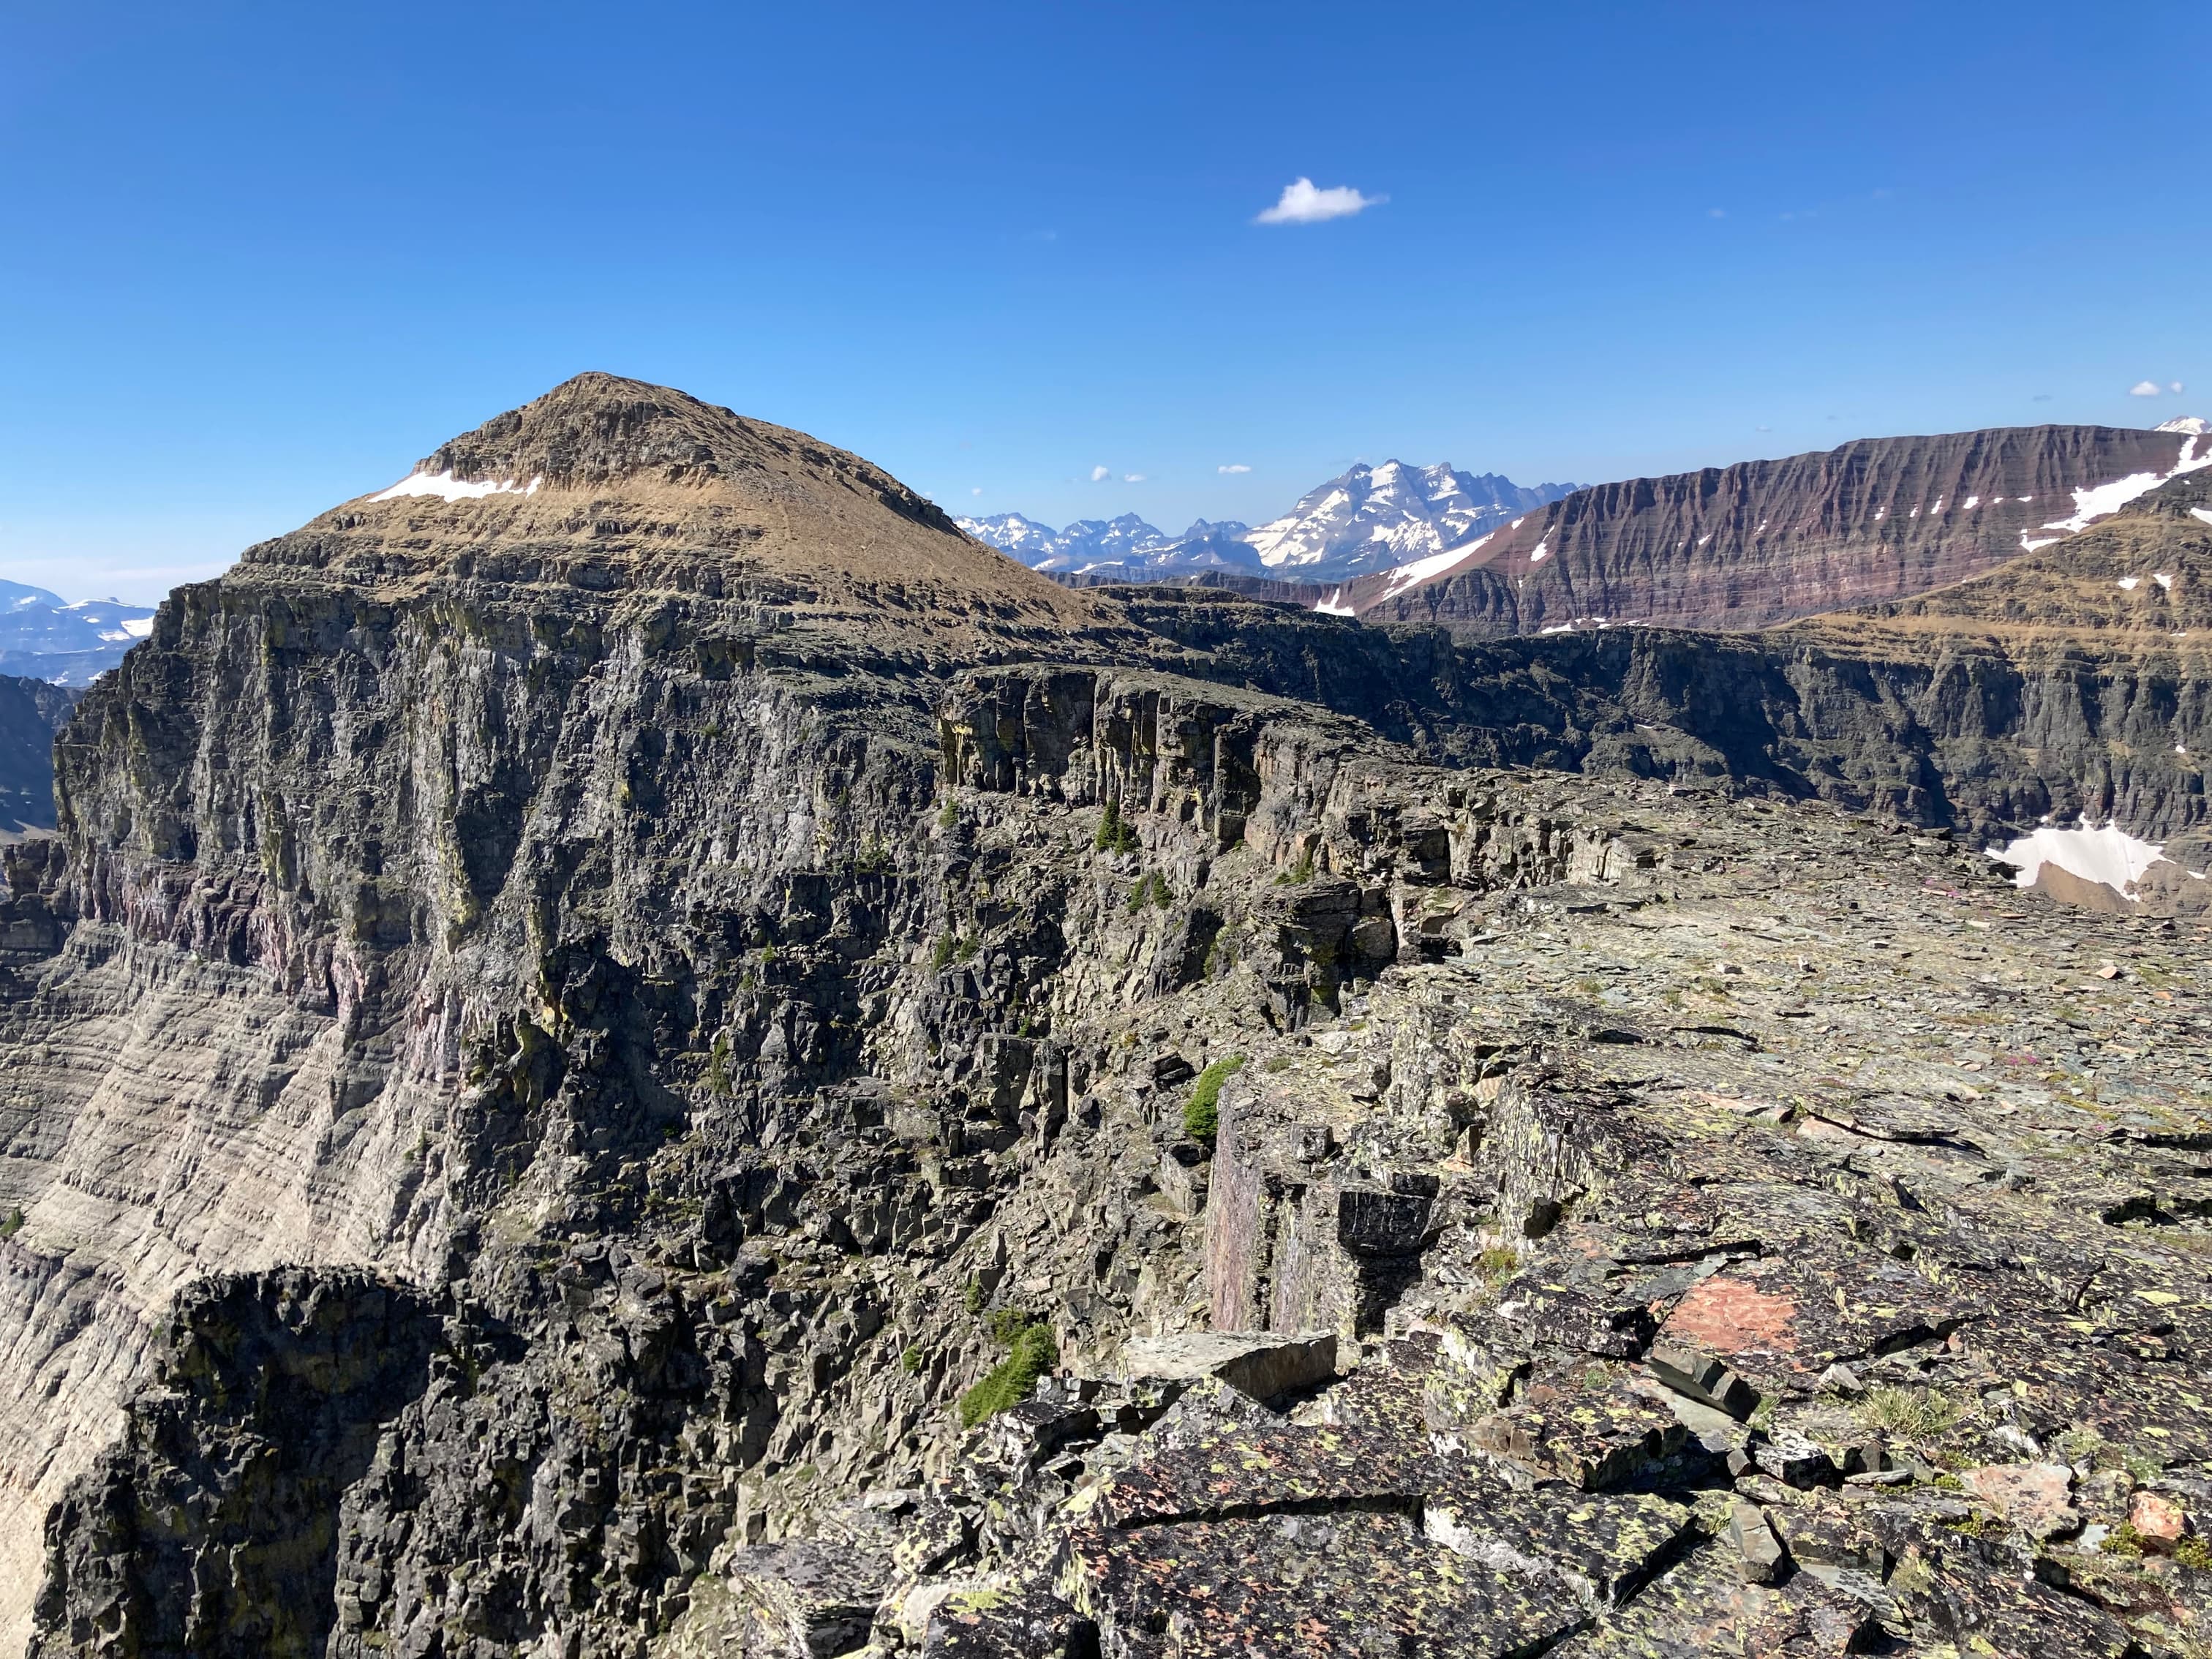
Departing from Aahkoinimaiisták, I proceeded west along the ridge top to a slightly lower adjacent high point before descending further to some sort of sensor or transmitter situated on a broad, gentle part of the ridge. To the southwest was a distinct high point. I think the typical route bypasses it to the right, but I wanted to see the view from the top. It turns out the view down to the Lineham Lakes was worth the small additional climb. The terrain becomes quite broken up before the ridge ascends towards the high point. From afar this didn’t look like a big deal, but up close it was clear that staying on the ridge top wasn’t feasible. I frequently deviated to the right onto passable terrain then returned to the ridge top, only to find that I had to get off the ridge again and go right. Eventually I got past that area and was able to easily walk to the high point and enjoy the view.
Continuing to Mount Hawkins from there was straightforward. Some hands-on scrambling was required near the summit, and any difficulties could be circumvented by traversing left slightly. Above the scramble the summit was a short walk away. Views were similar to what I was looking at through the day so far. It took about 5h 45m to get to that point. After a short break I set off along toward Lineham Ridge and Mount Lineham. Pictures and details will be in Part 3 of this report.
Click/tap on the pictures in the gallery below to access higher resolution images.
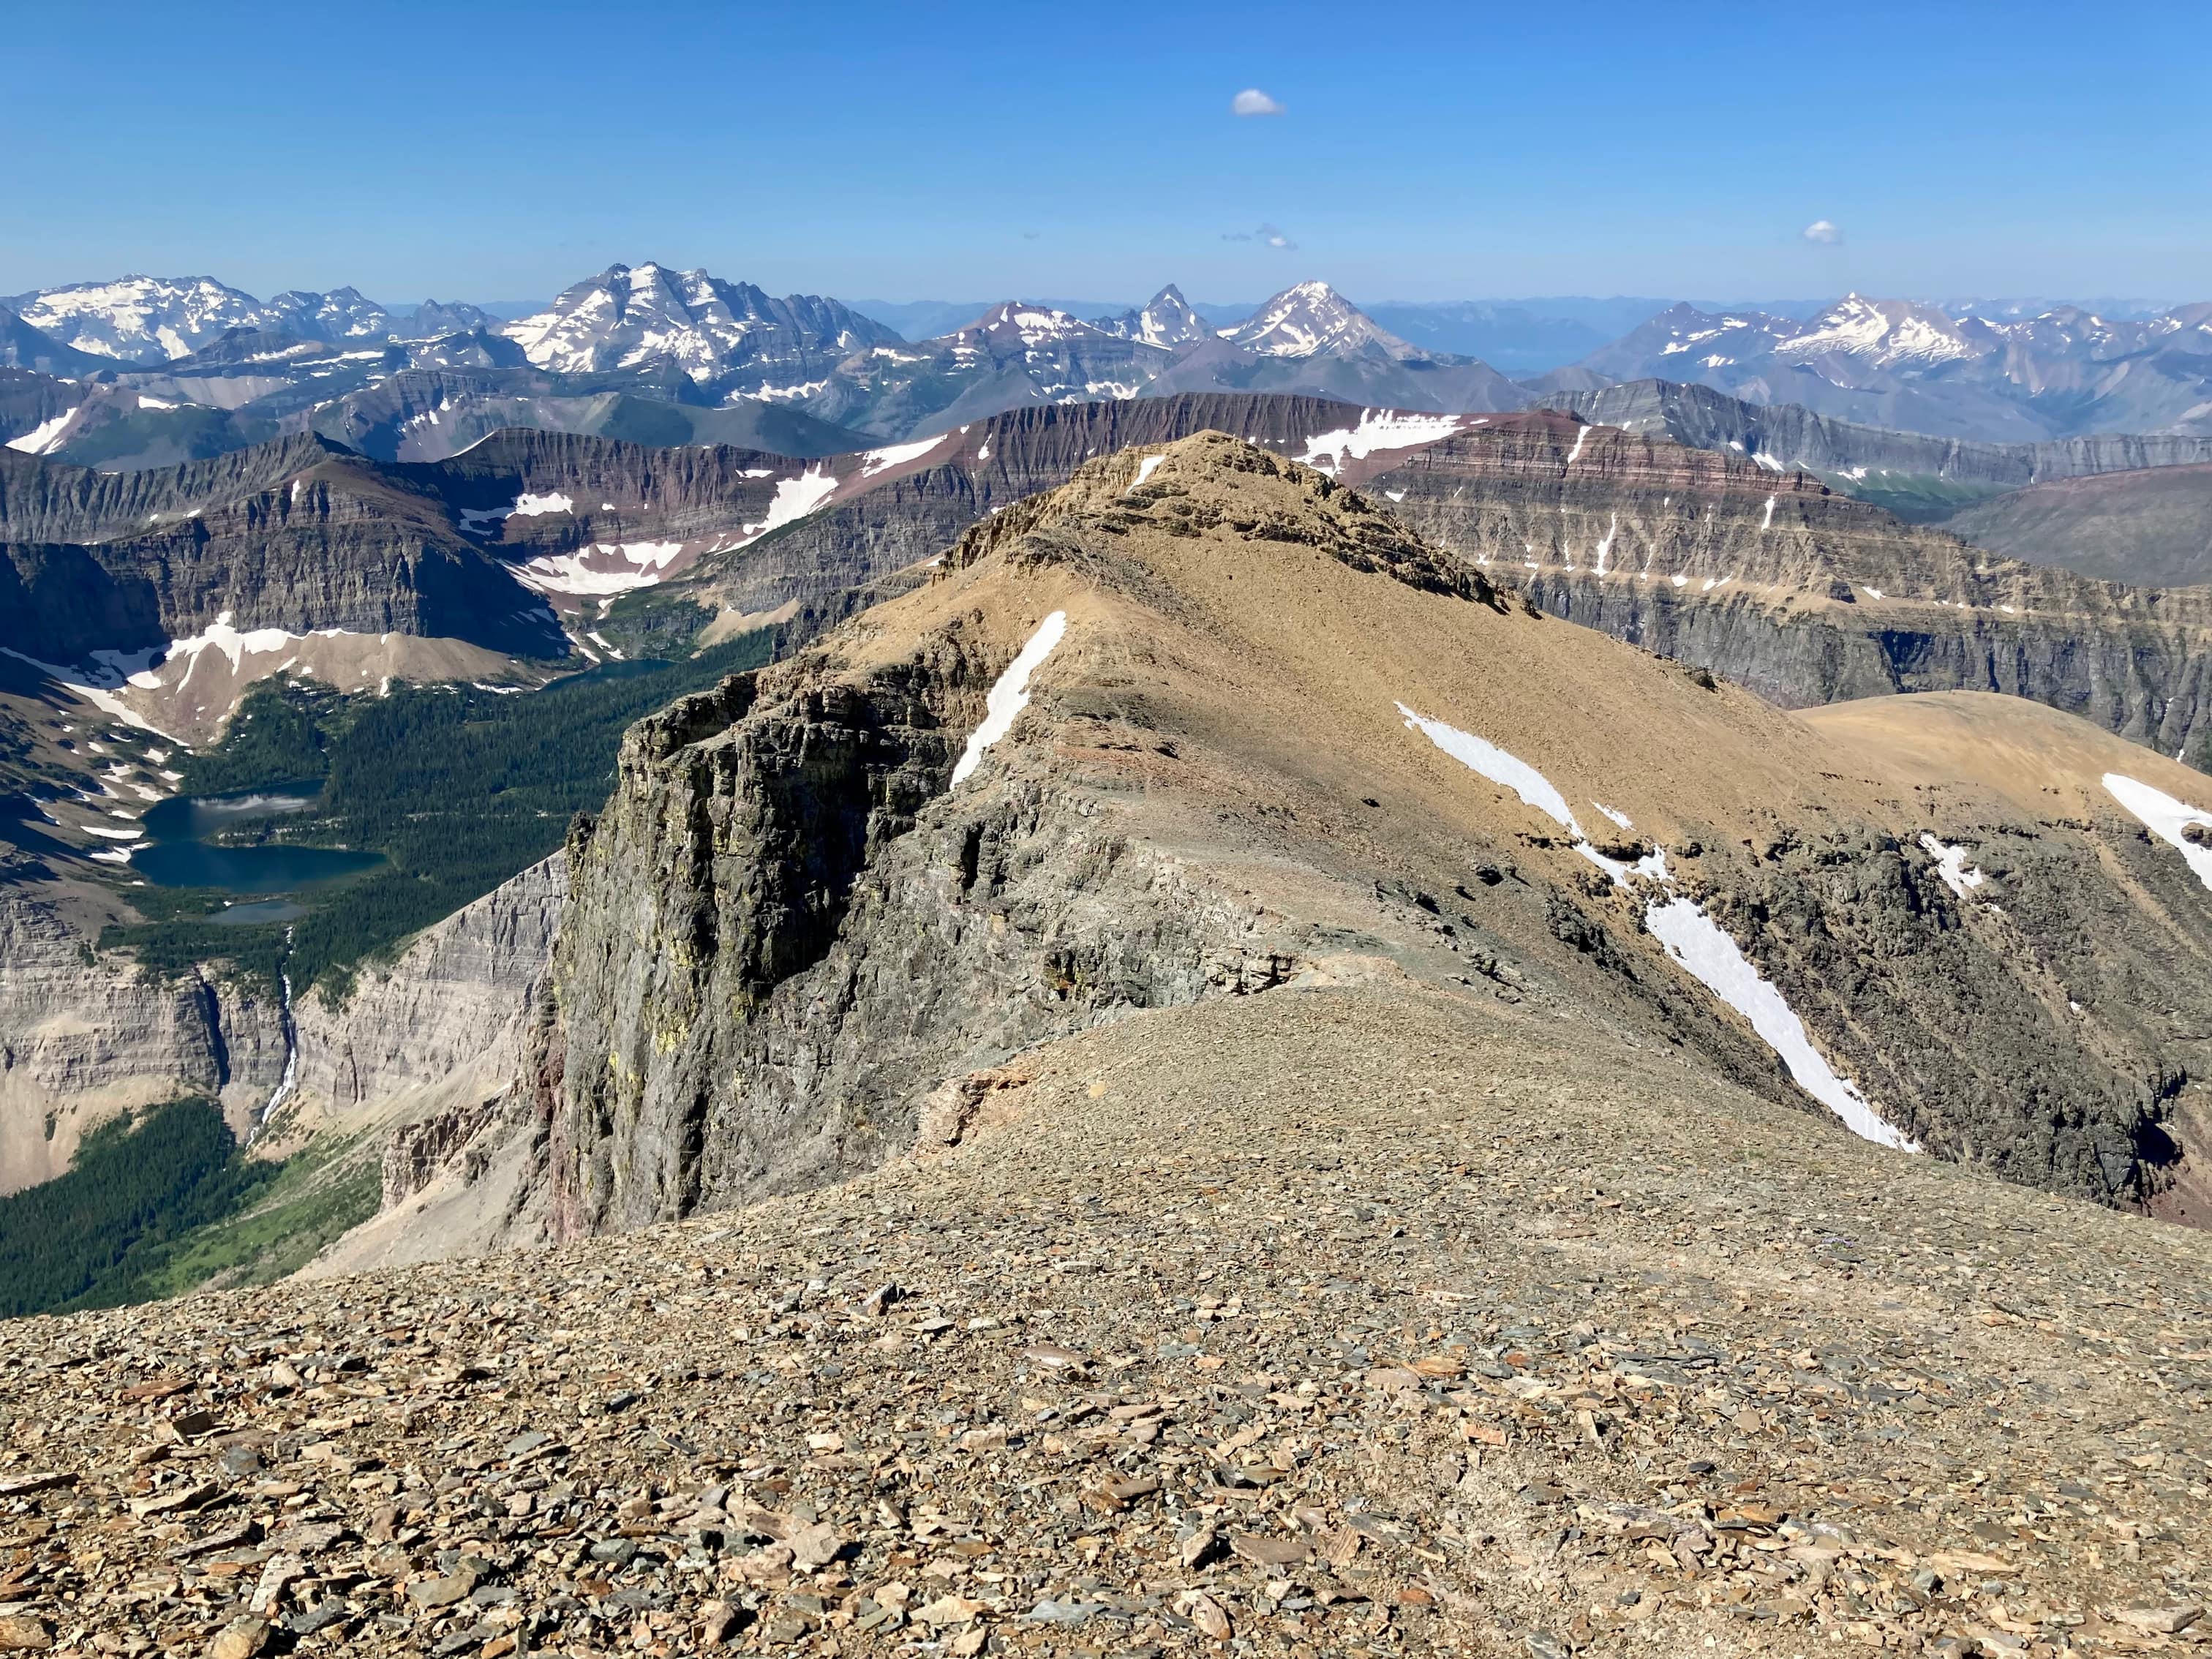
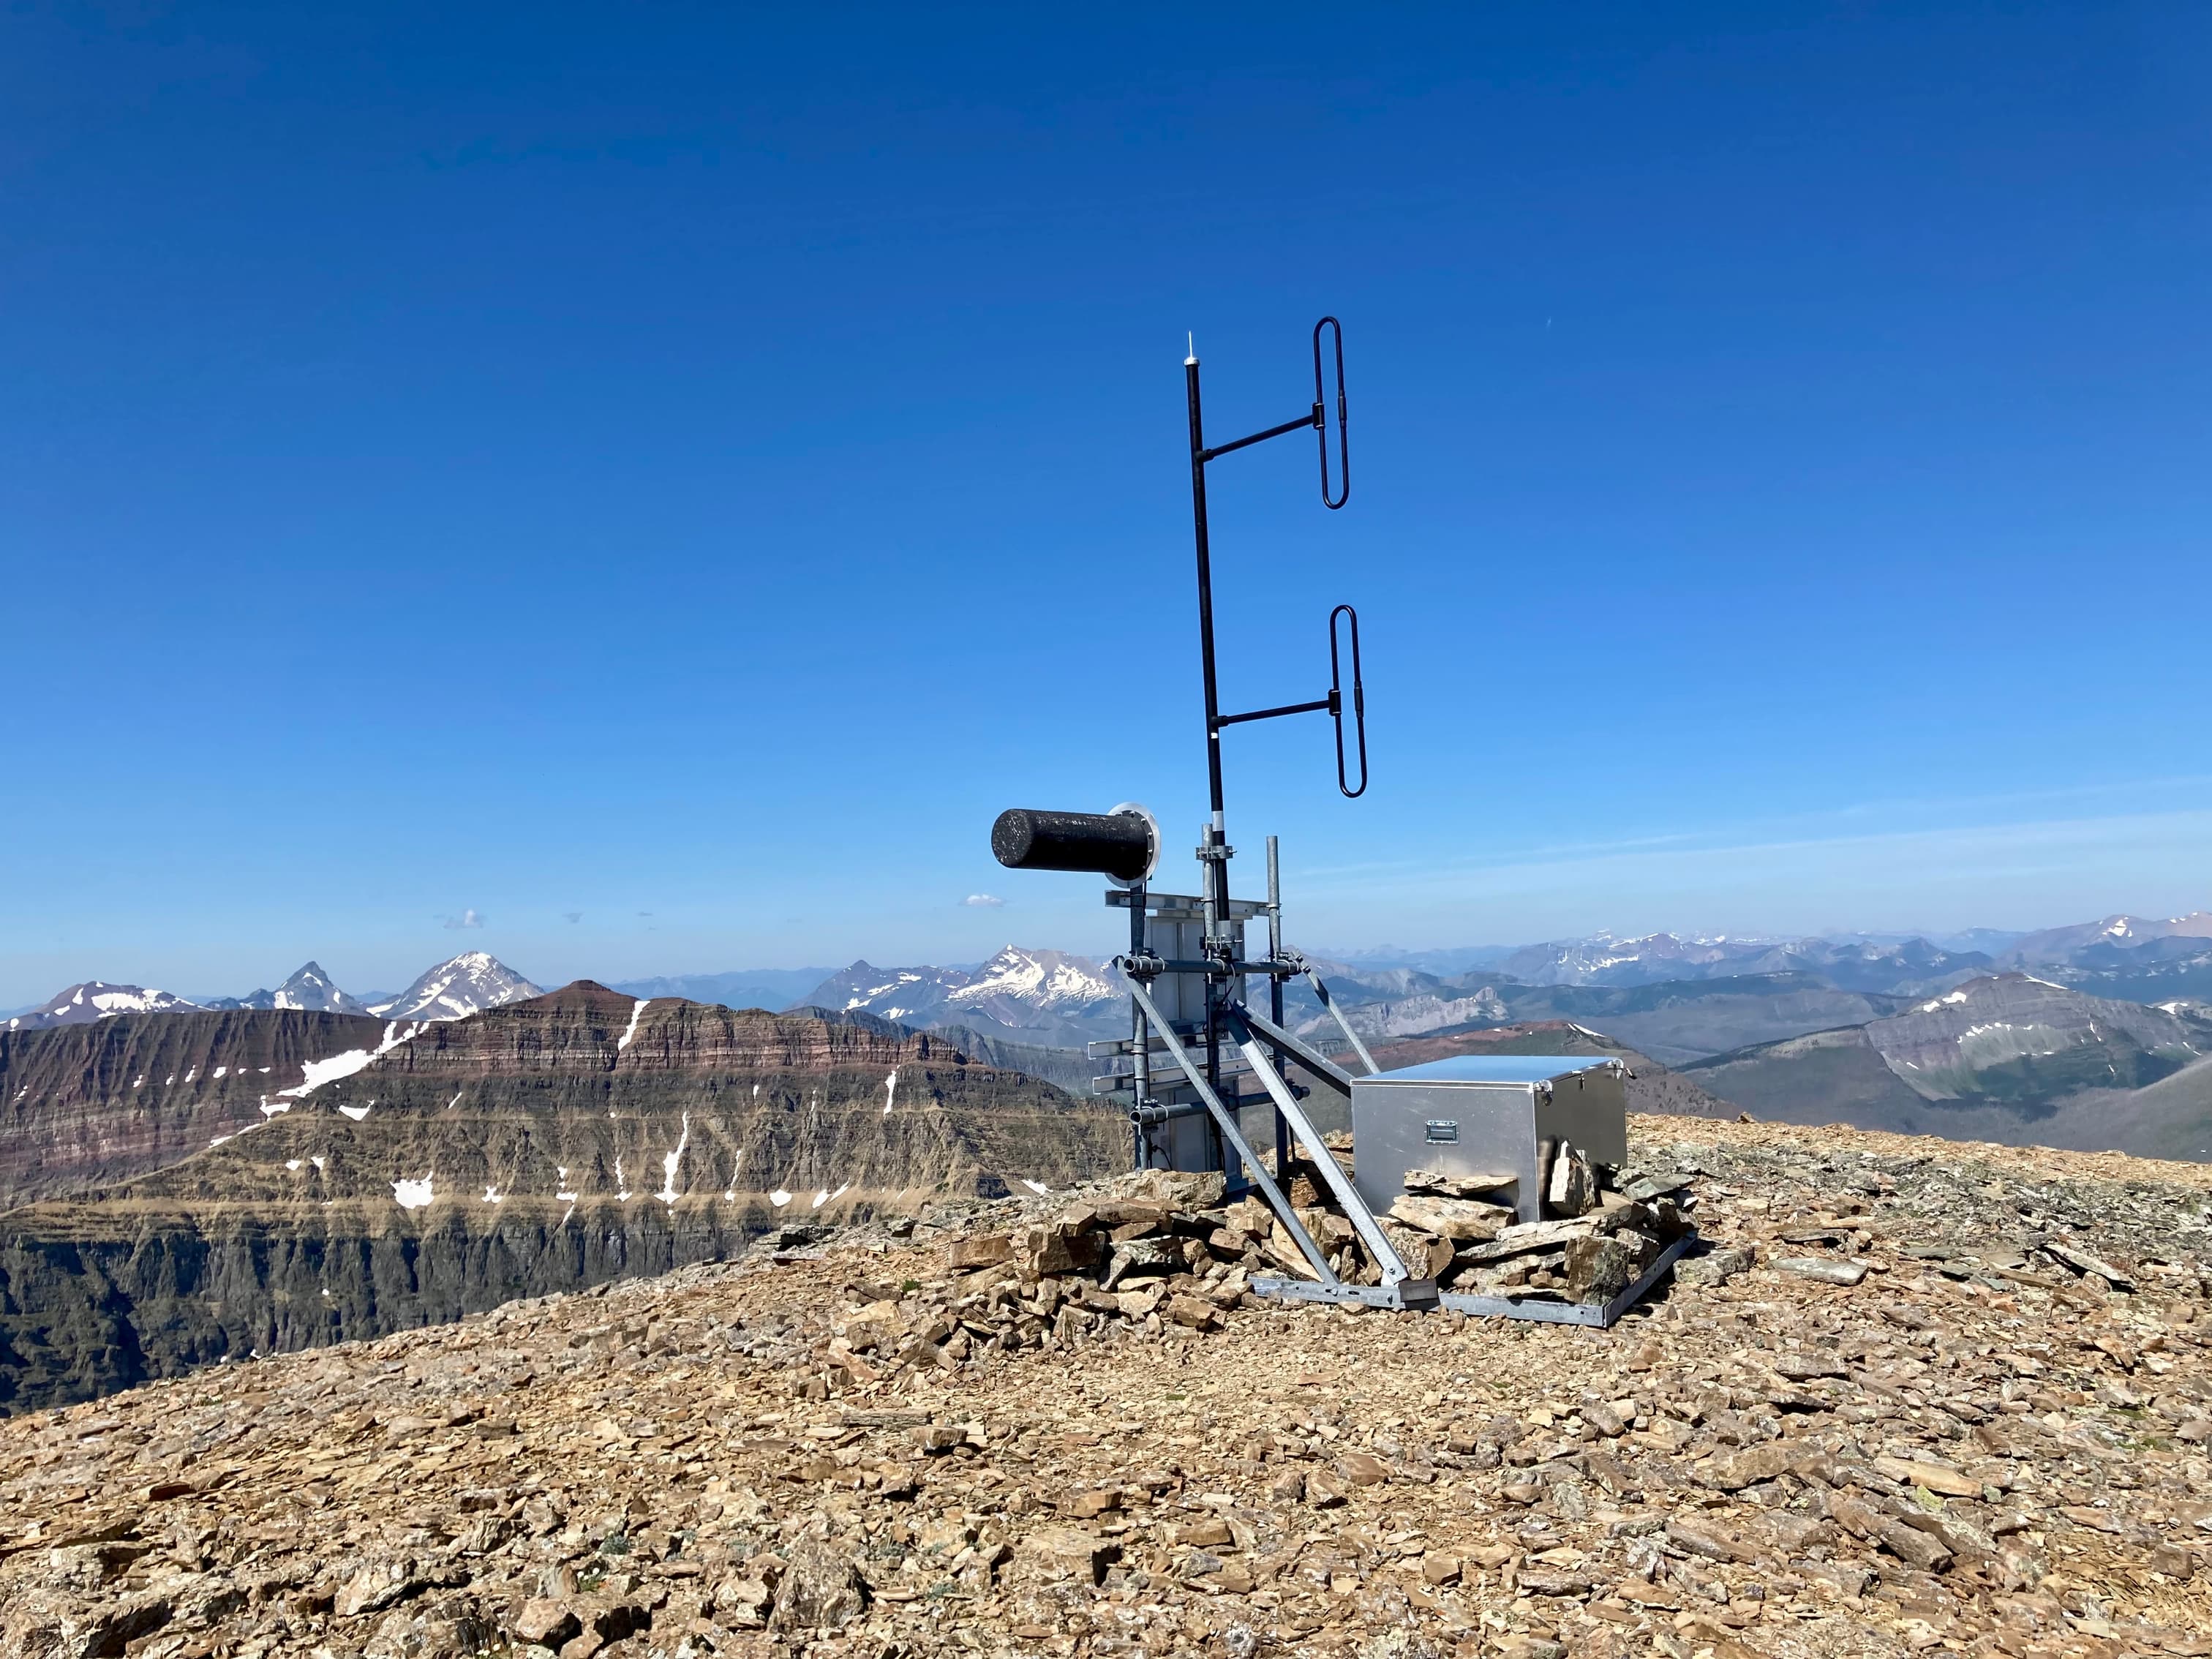
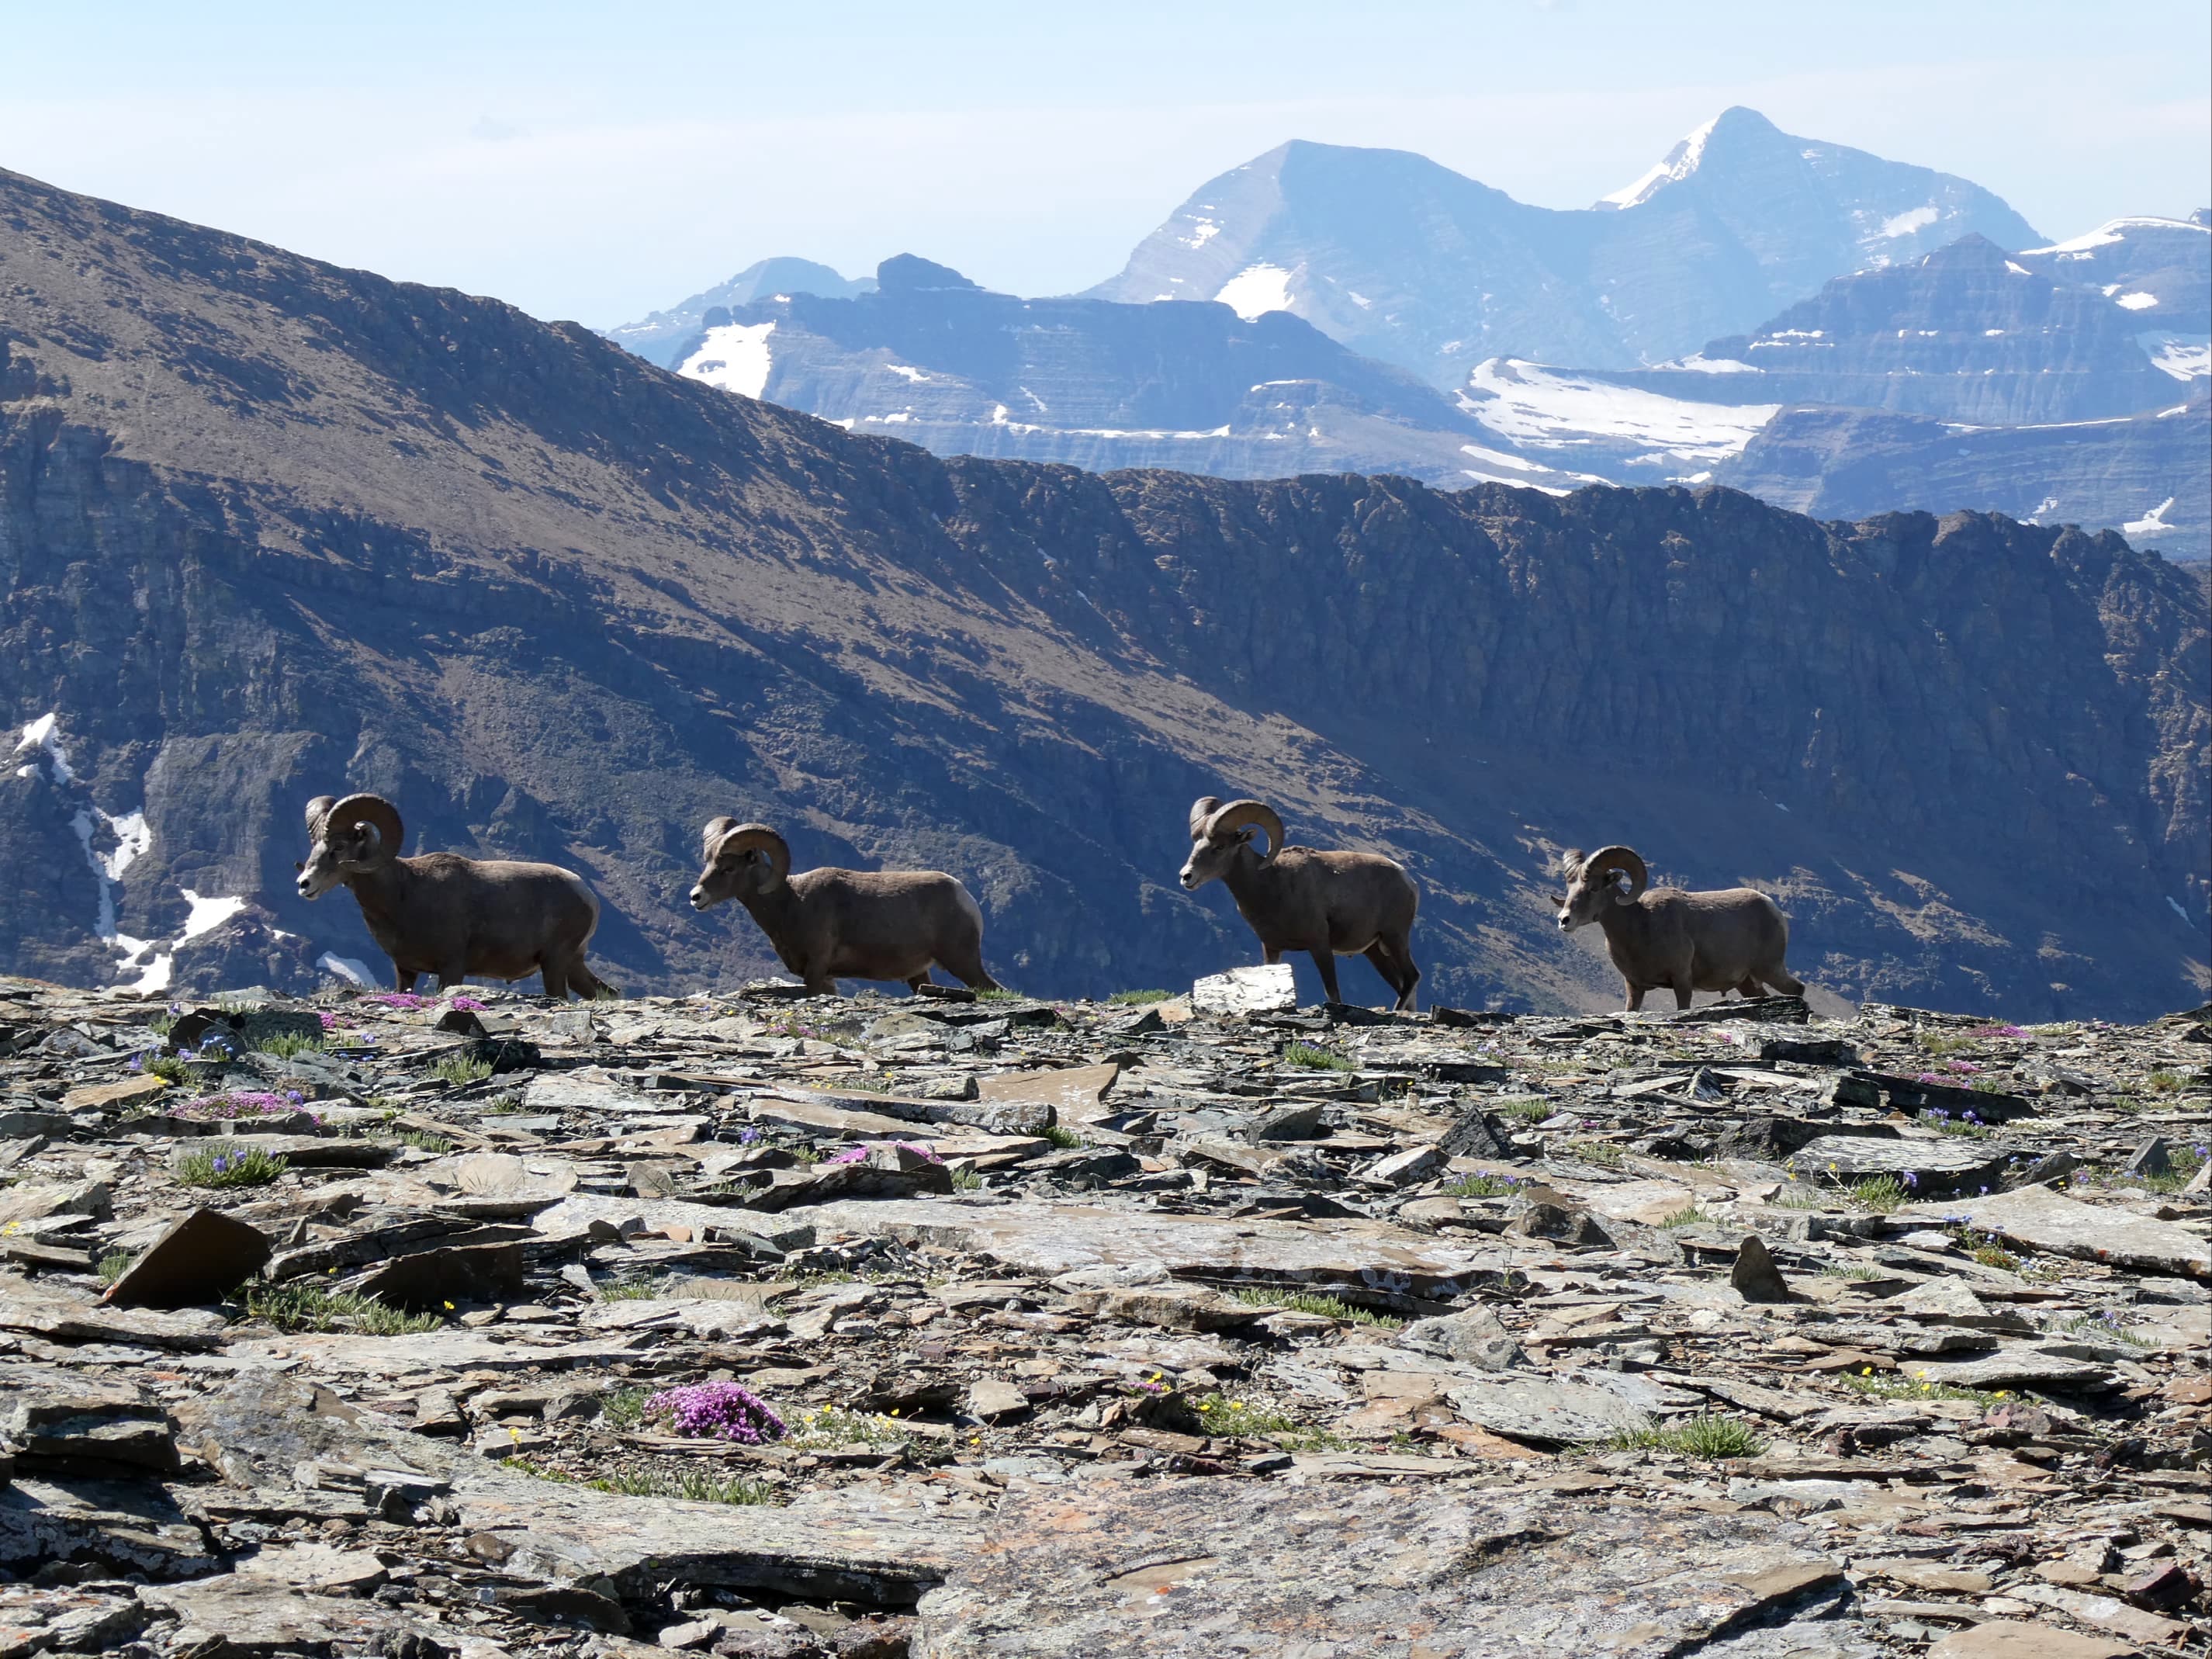
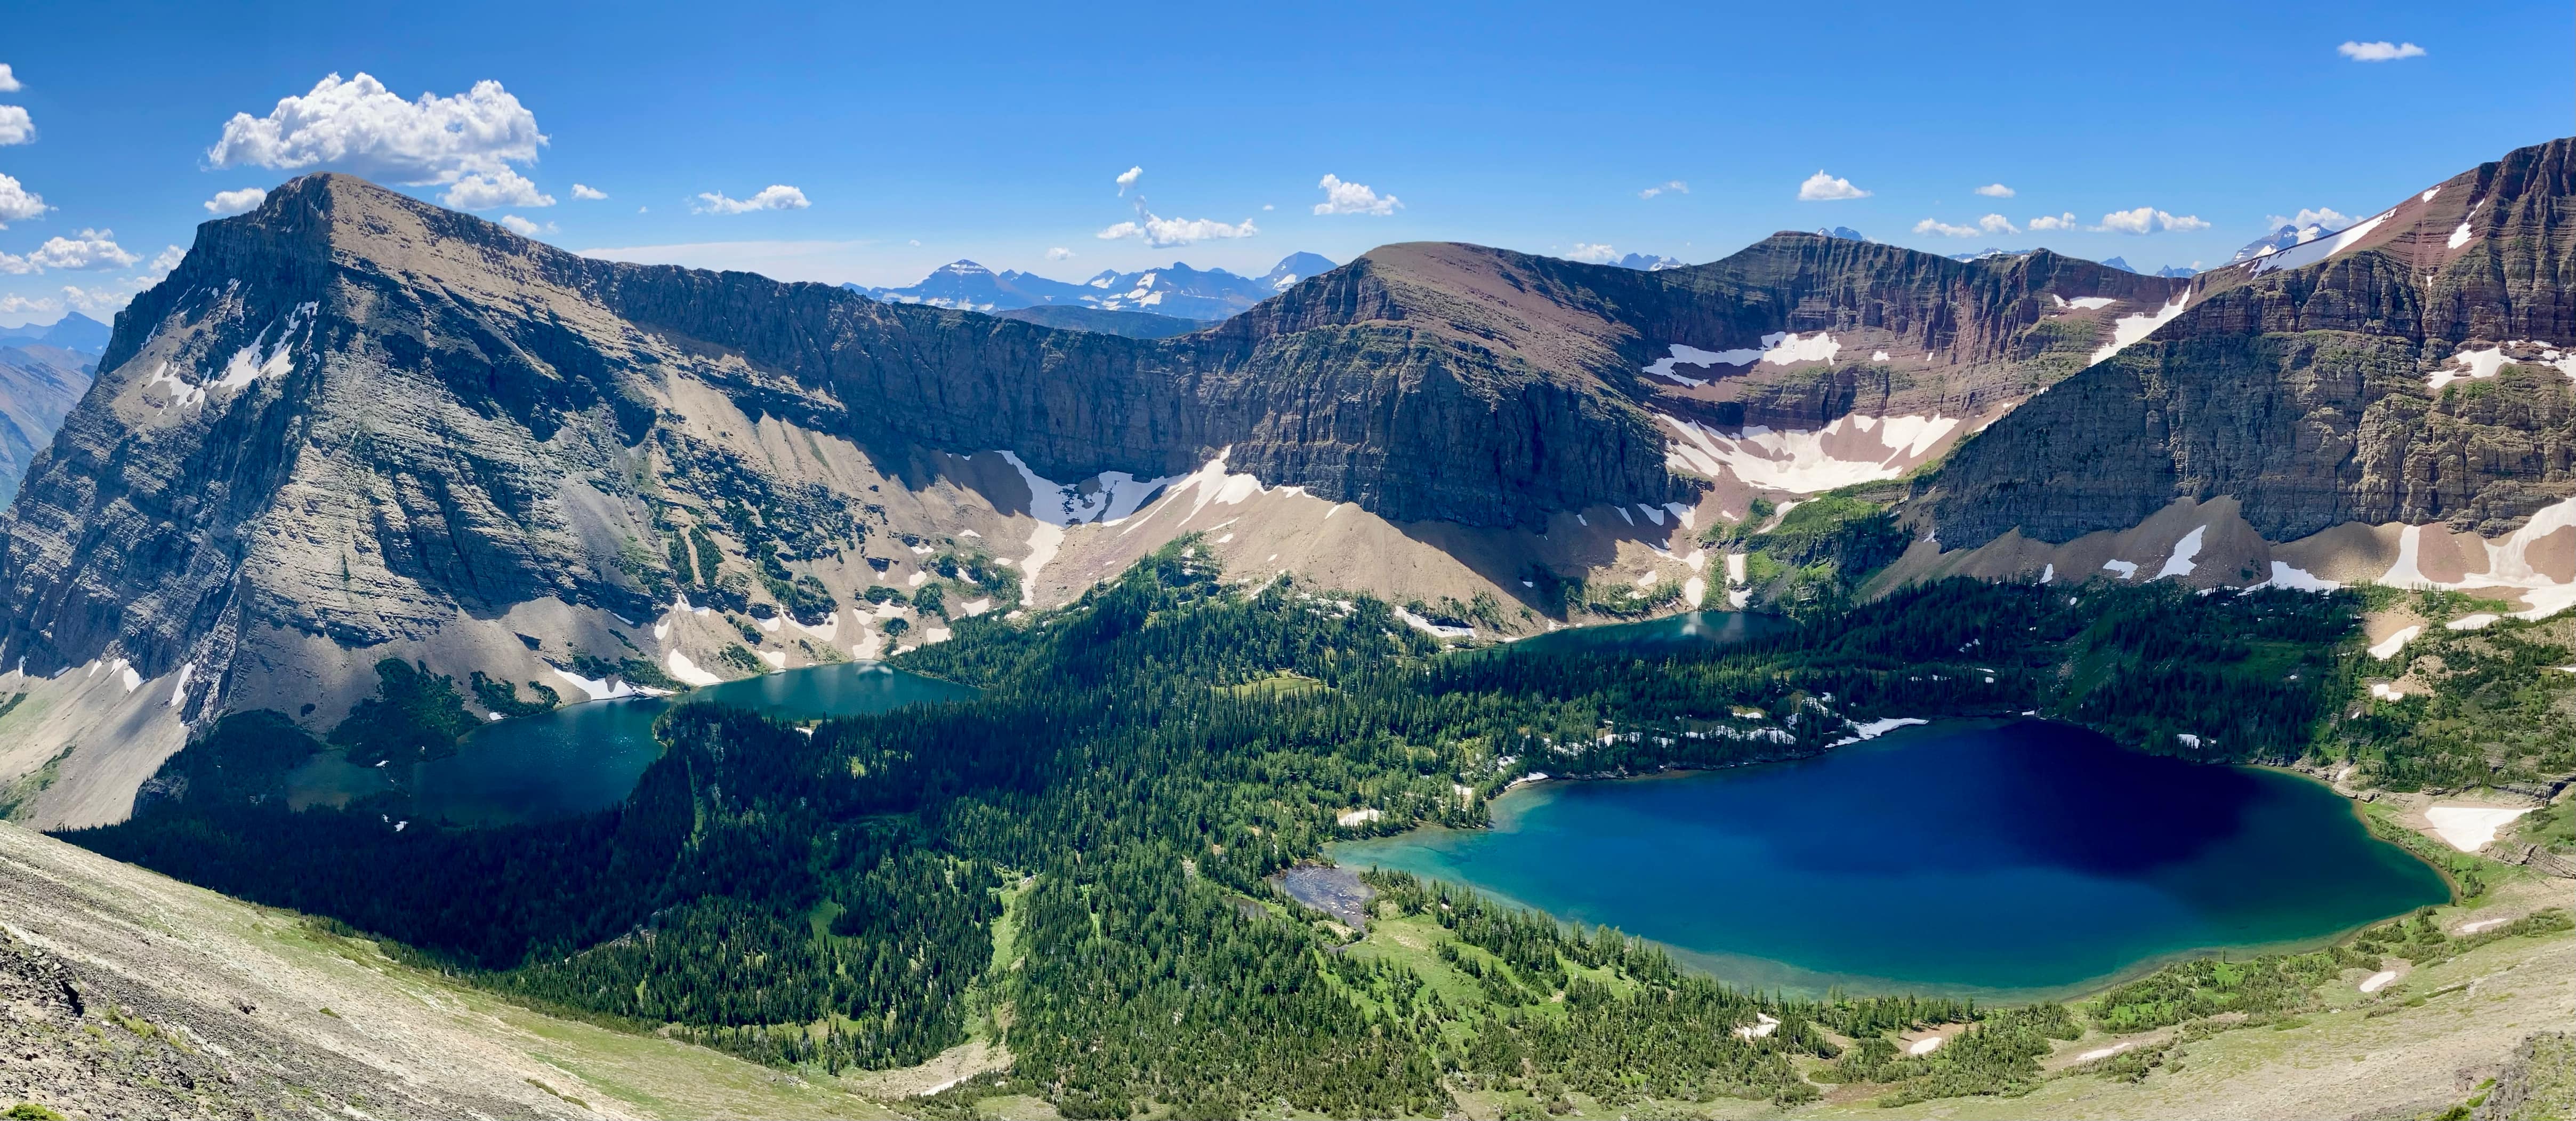
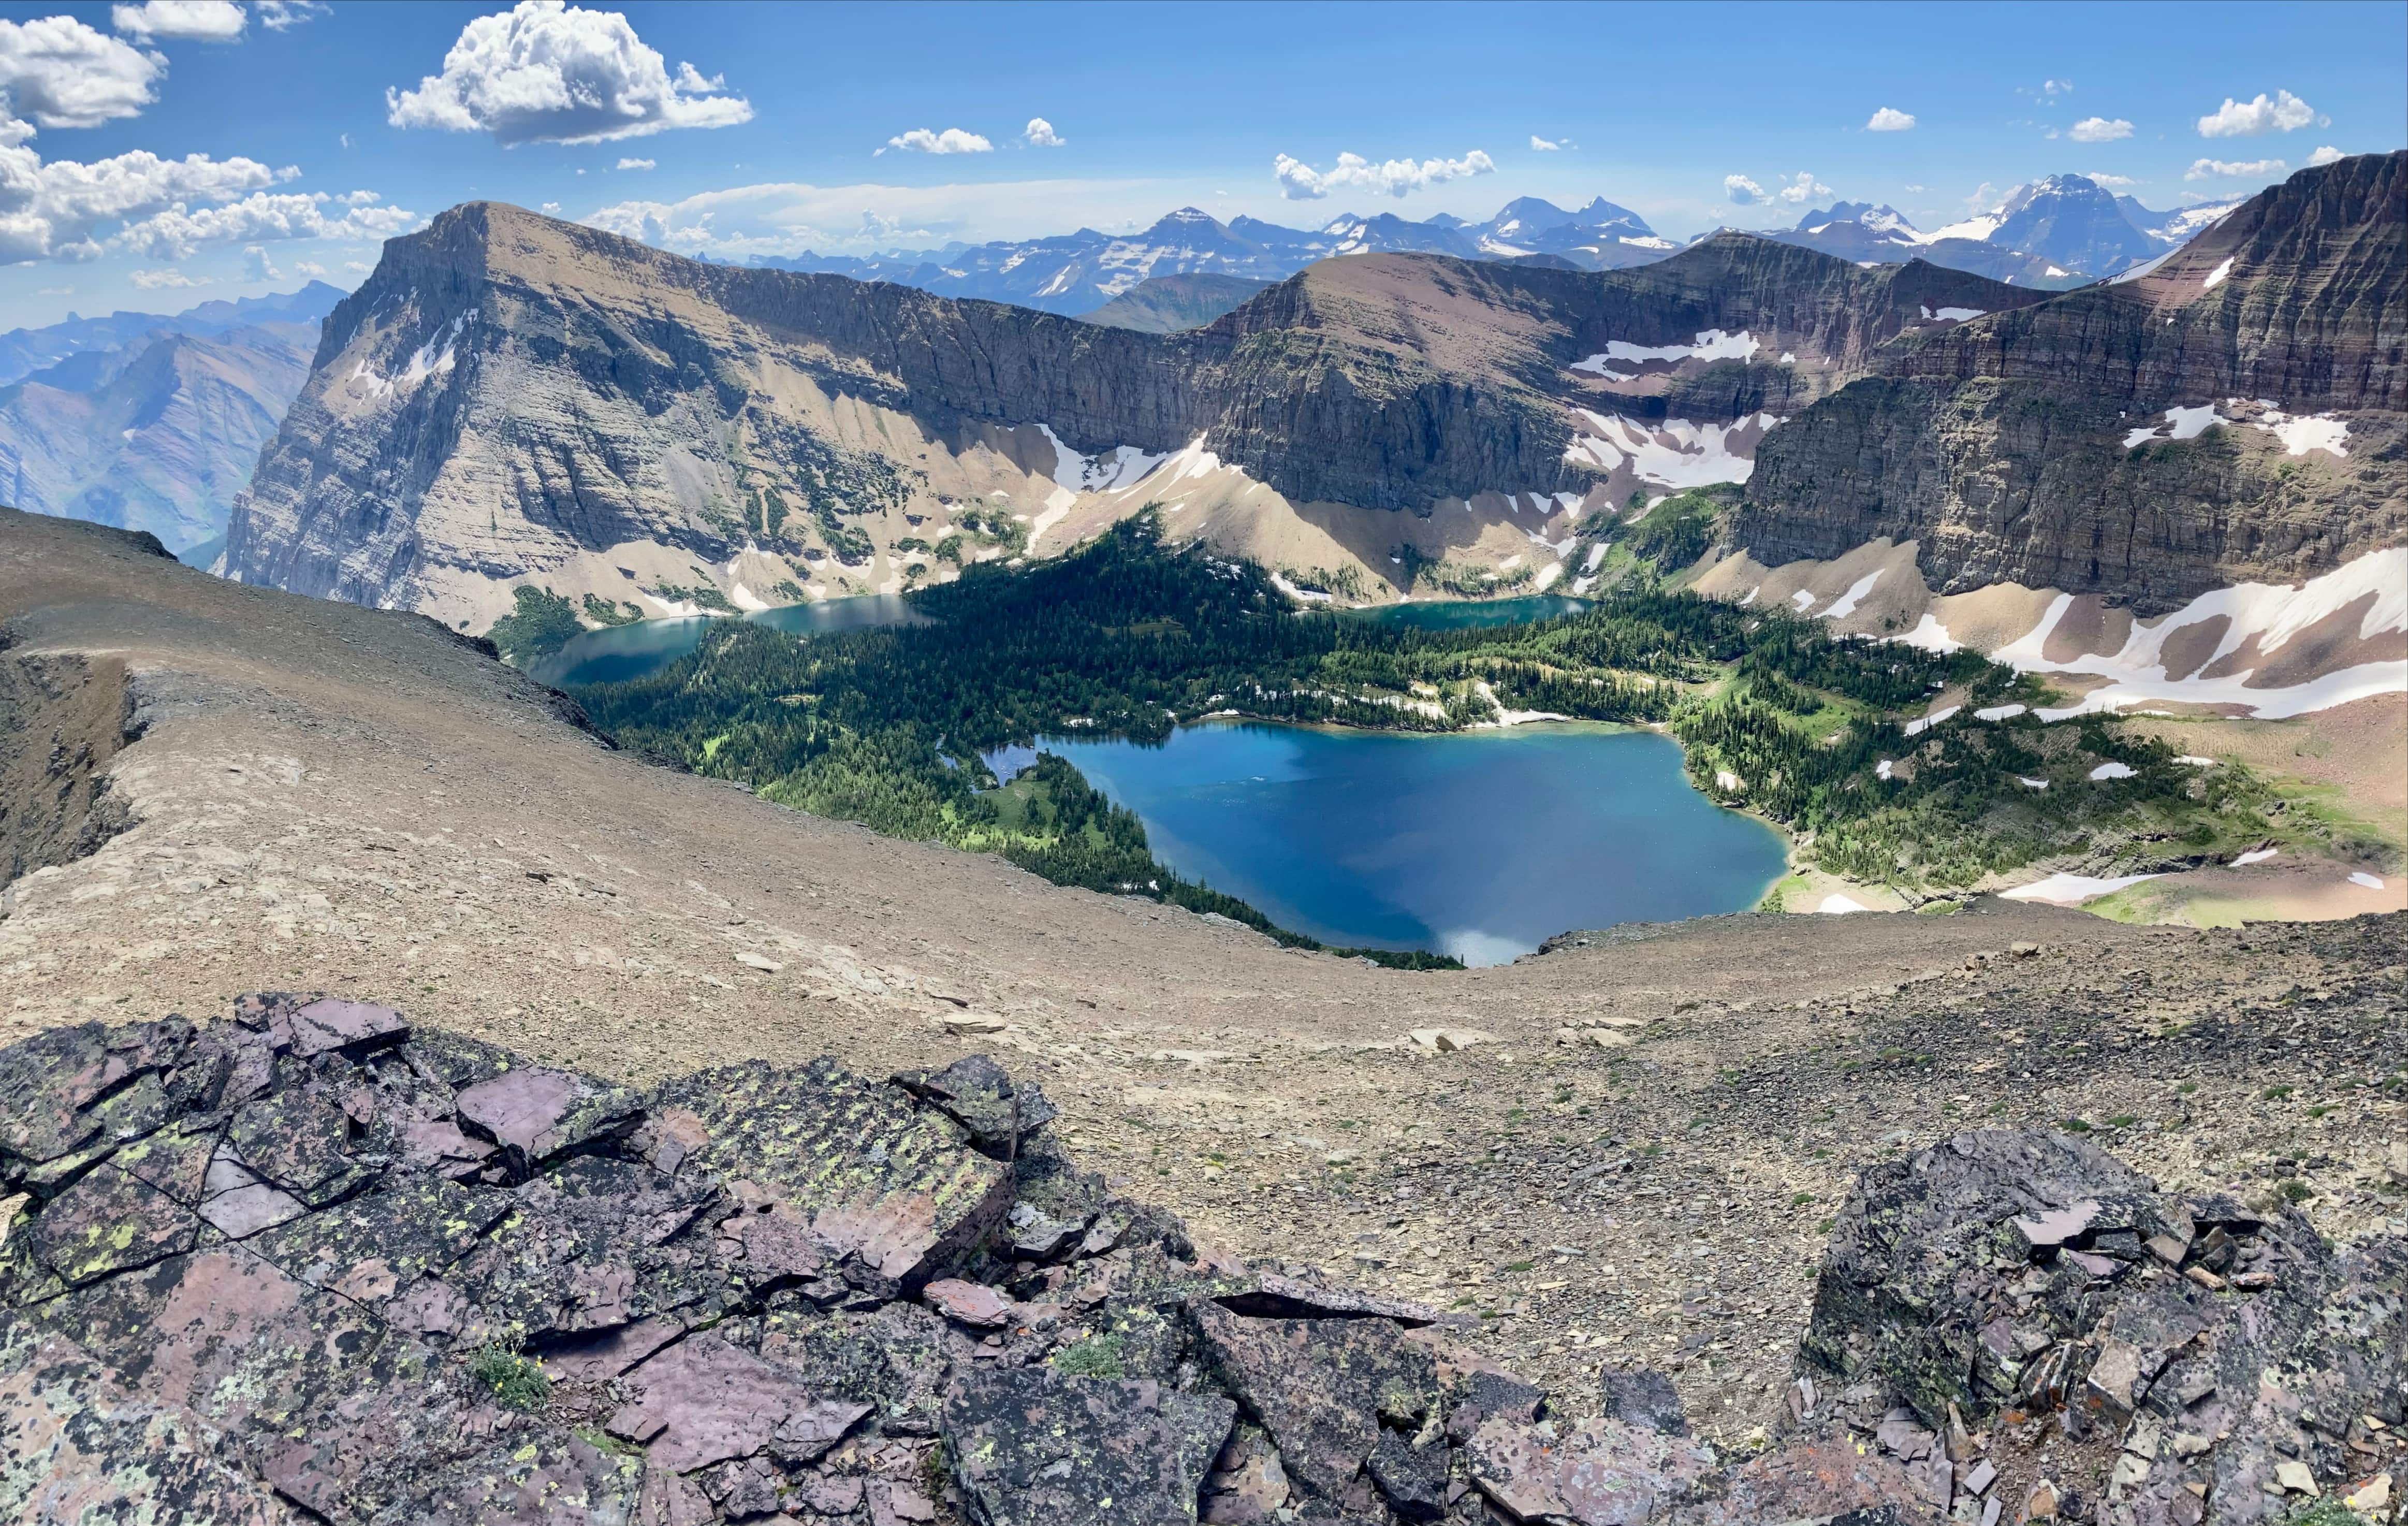
Walking down from Aahkoinimaiisták’s summit. A high point is immediately encountered that’s easy to climb up and over.There was a little busted-down cairn at the top of the high point.Continuing from the high point. There was a gentle descent to a broad, rounded hump where there was an antenna of some kind. Mount Hawkins is the red-topped peak at centre. Between the antenna and Hawkins there was a distinct high point. The usual route bypasses it to the right, but I decided to go up and over. The high point itself posed no difficulties, but I had to deviate off the ridge to the right in the area of the black rock.Heading for the antenna.I have no idea what this is for.Continuing along the ridge. The high point is to the left. Mount Hawkins is to the right. Some sheep were walking by (look closely on the left). Around here I could clearly see that in the area of the black rocks there was a discontinuity of the ridge top.Four rams going for a walk.They were not in a hurry.As I got closer I could see that it wouldn’t be feasible to stick to the ridge top. I went to the right and passed the first big gap. On returning to the ridge top I found I had to deviate again a couple times because of more gaps that I didn’t appreciate from this vantage.Some of the terrain to the right of the ridge top.The very dramatic drop to the left.A look back after passing beyond the black rocks.Climbing up to the high point. There’s also a faint trail which bypasses this entirely to the right.The top of the high point features another mini-cairn.Looking east, back the way I came.Anderson Peak and Lost Mountain to the north.The view to the south and west – this is the reason you shouldn’t bypass high point. This route involves a full day of evolving views down into this little valley. Pictures don’t necessarily convey it well, but in real life this spot was the most captivating.Down on the col between the high point and Mount Hawkins there was a bit of a promontory overlooking the valley. I made my way down to it and found that it provided completely unobstructed views of the lakes.Time to climb Mount Hawkins.Some hands-on scrambling terrain. Easier terrain could be found to climber’s left. The rocks change from yellow to black to red as you ascend.Yellow meets black.It was impossible not to keep stopping to look back at the lakes.Black meets red.Between the rocks, moss, lichen, and flowers you get pretty much the full colour spectrum.Above the scramble, looking at the lakes again.The final walk to the summit.The summit of Mount Hawkins.Panorama looking northwest.Panorama looking southeast.Looking back along the route so far.From the summit of Mount Hawkins it was an easy descent to this col. The Hawkins Horseshoe report will conclude in Part 3 with Mount Lineham.


2 thoughts on “Hawkins Horseshoe Part 2: Mount Hawkins”