January 27, 2020. A snowshoe trip to a low summit in the Crowsnest Pass.
- Region: Crowsnest Pass. Traditional territory of the Ktunaxa, Tsuu T’ina, and Blackfoot First Nations
- Distance: 8.2 km round trip
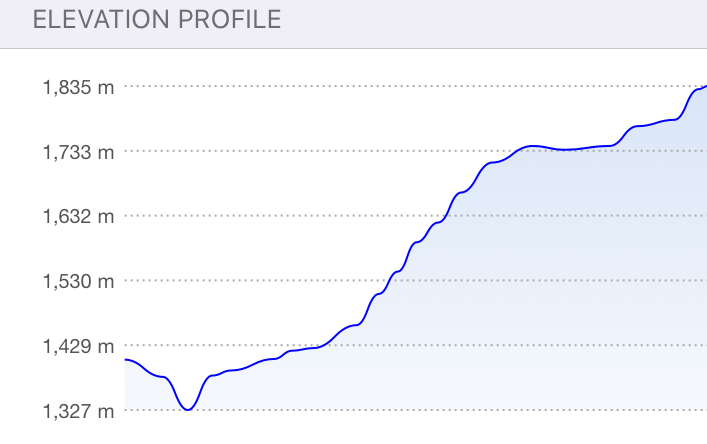
- Total Ascent: 643 m
- Elevation of objective: 1836 m
- Total Time: 4h 4m
- Safety and Disclaimer
For my first summit of 2020, I decided to knock another objective off the list from Nugara’s A Beginner’s Guide to Snowshoeing in the Canadian Rockies. The weather was promising – a killer cold-snap was several days in the past and the warming weather was not yet accompanied by gale force winds. It was a good day out, though my views and time on the summit were both limited by a snow squall that rolled in as I reached the top.
Byron Hill is situated just east of where the proper front ranges begin to rise in the Crowsnest Pass. This screen grab from Alberta Parks gives an idea of the what’s in the region:

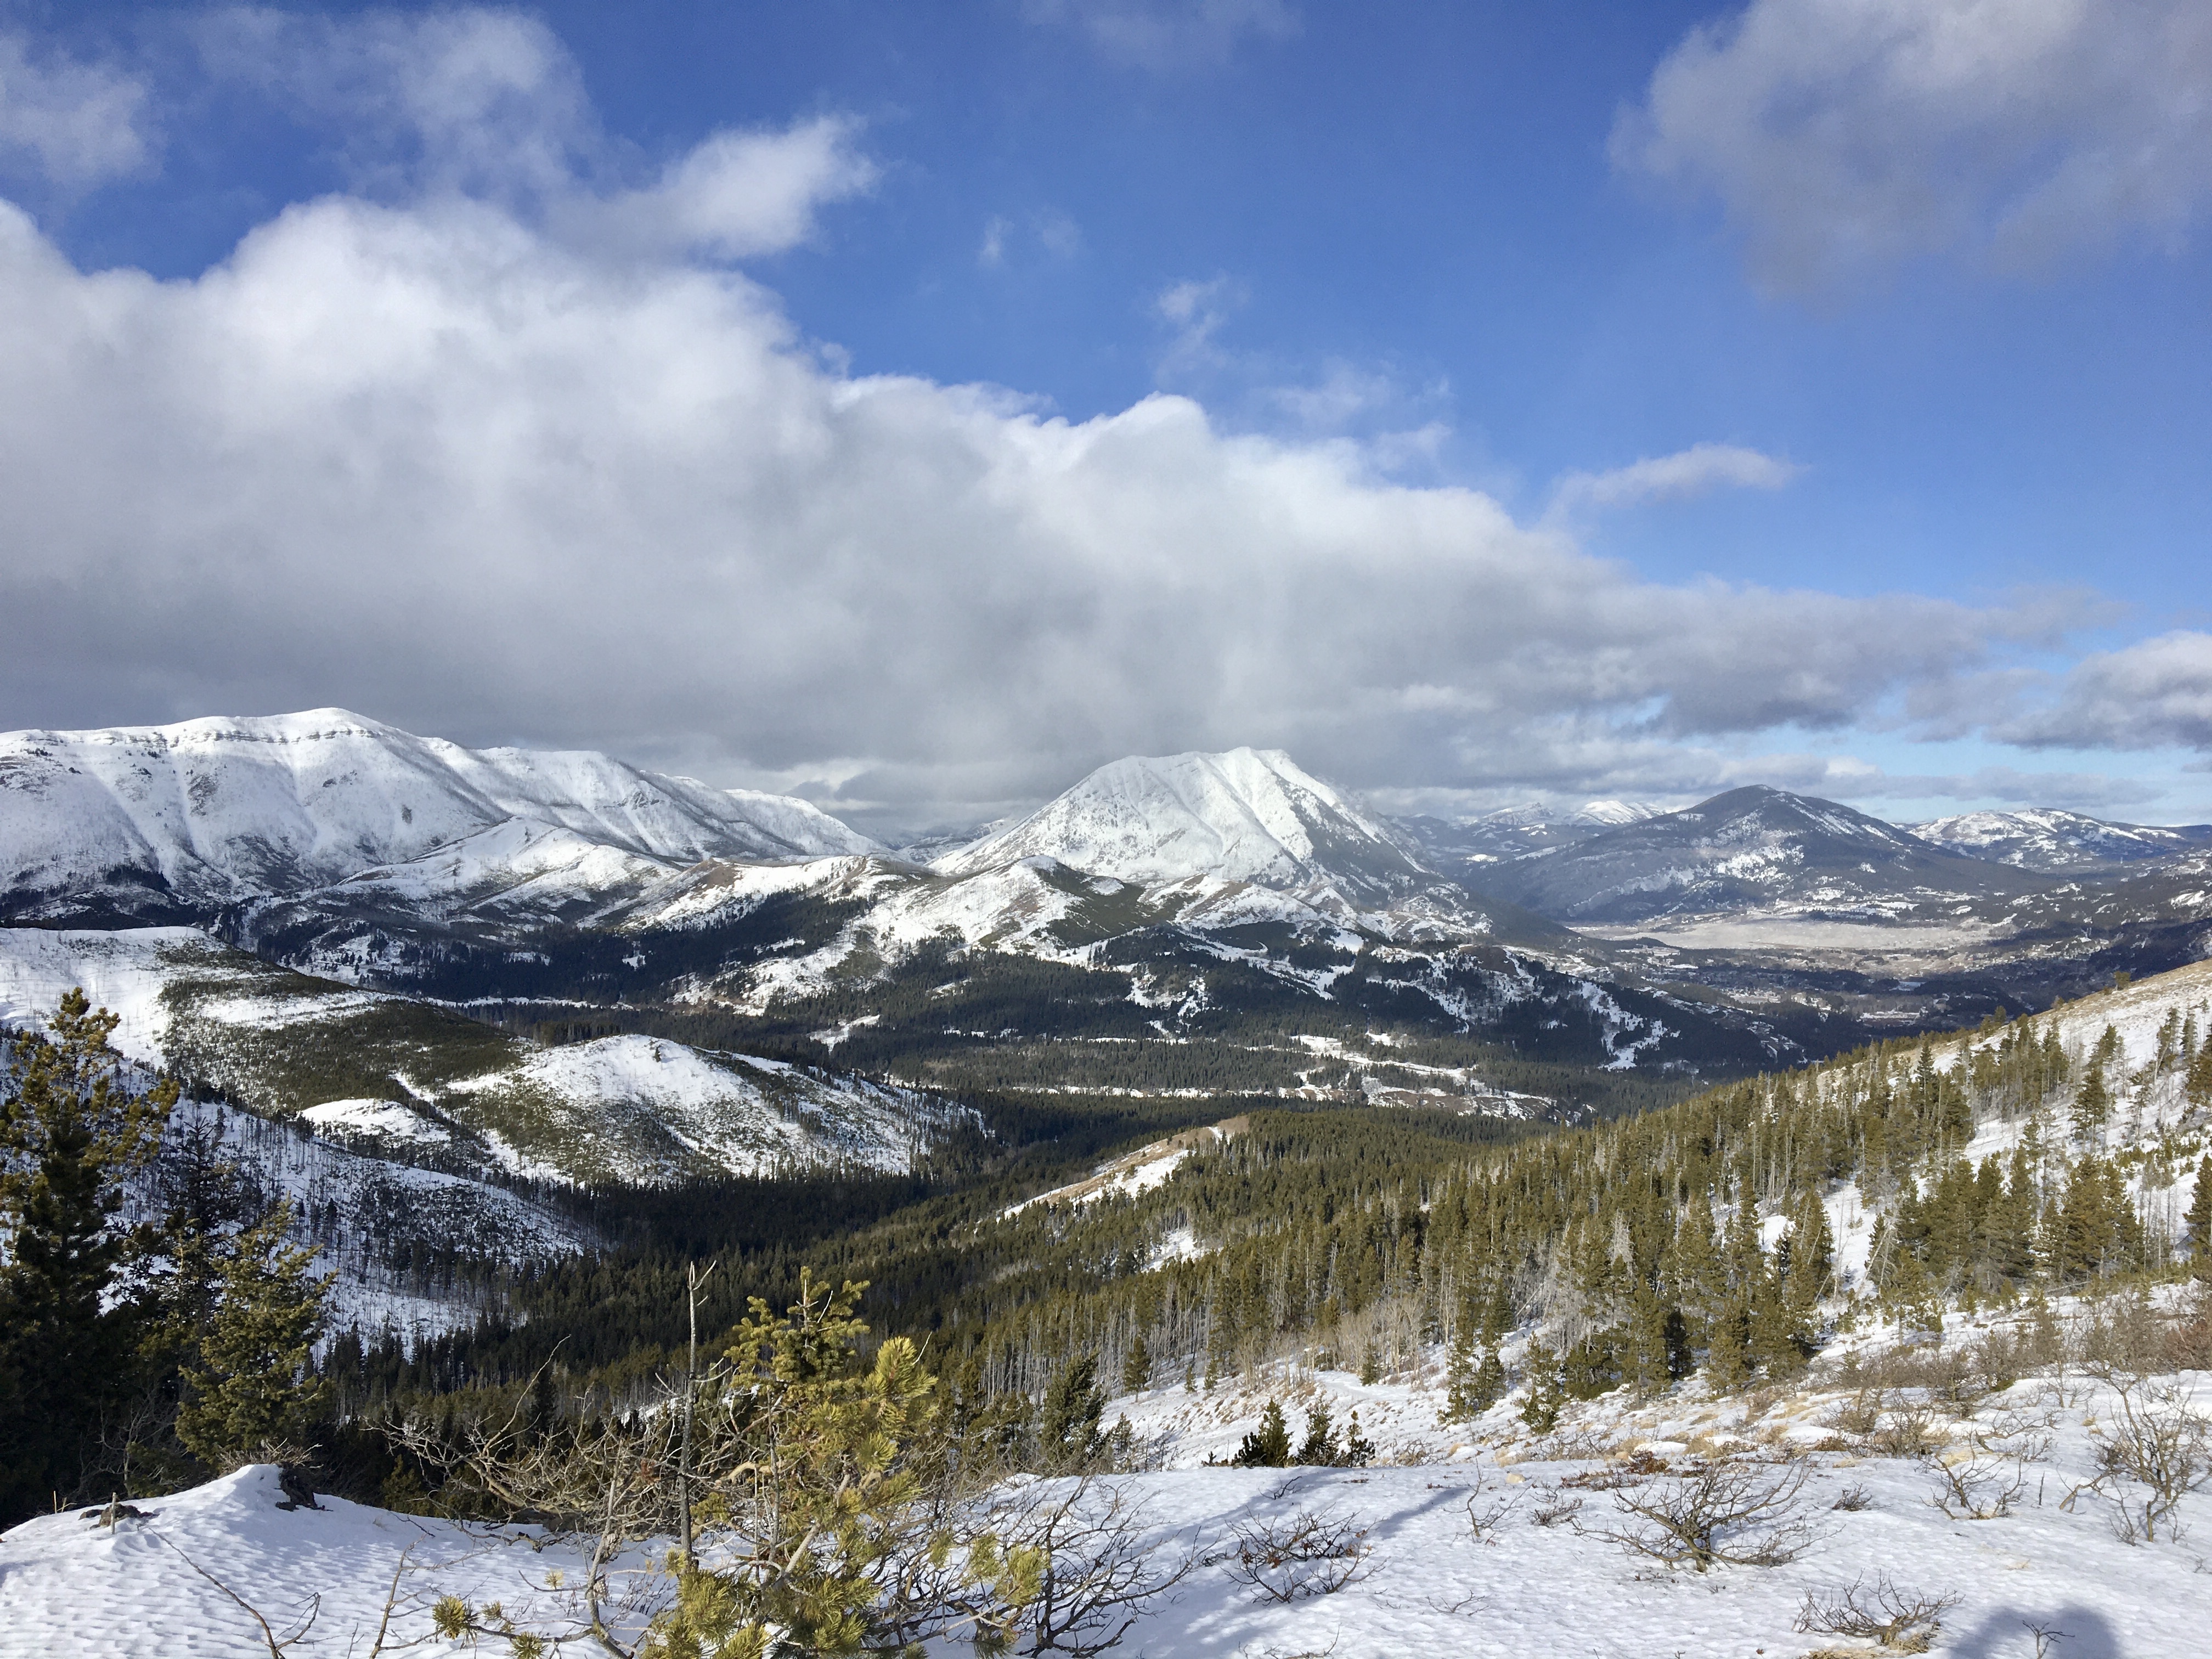
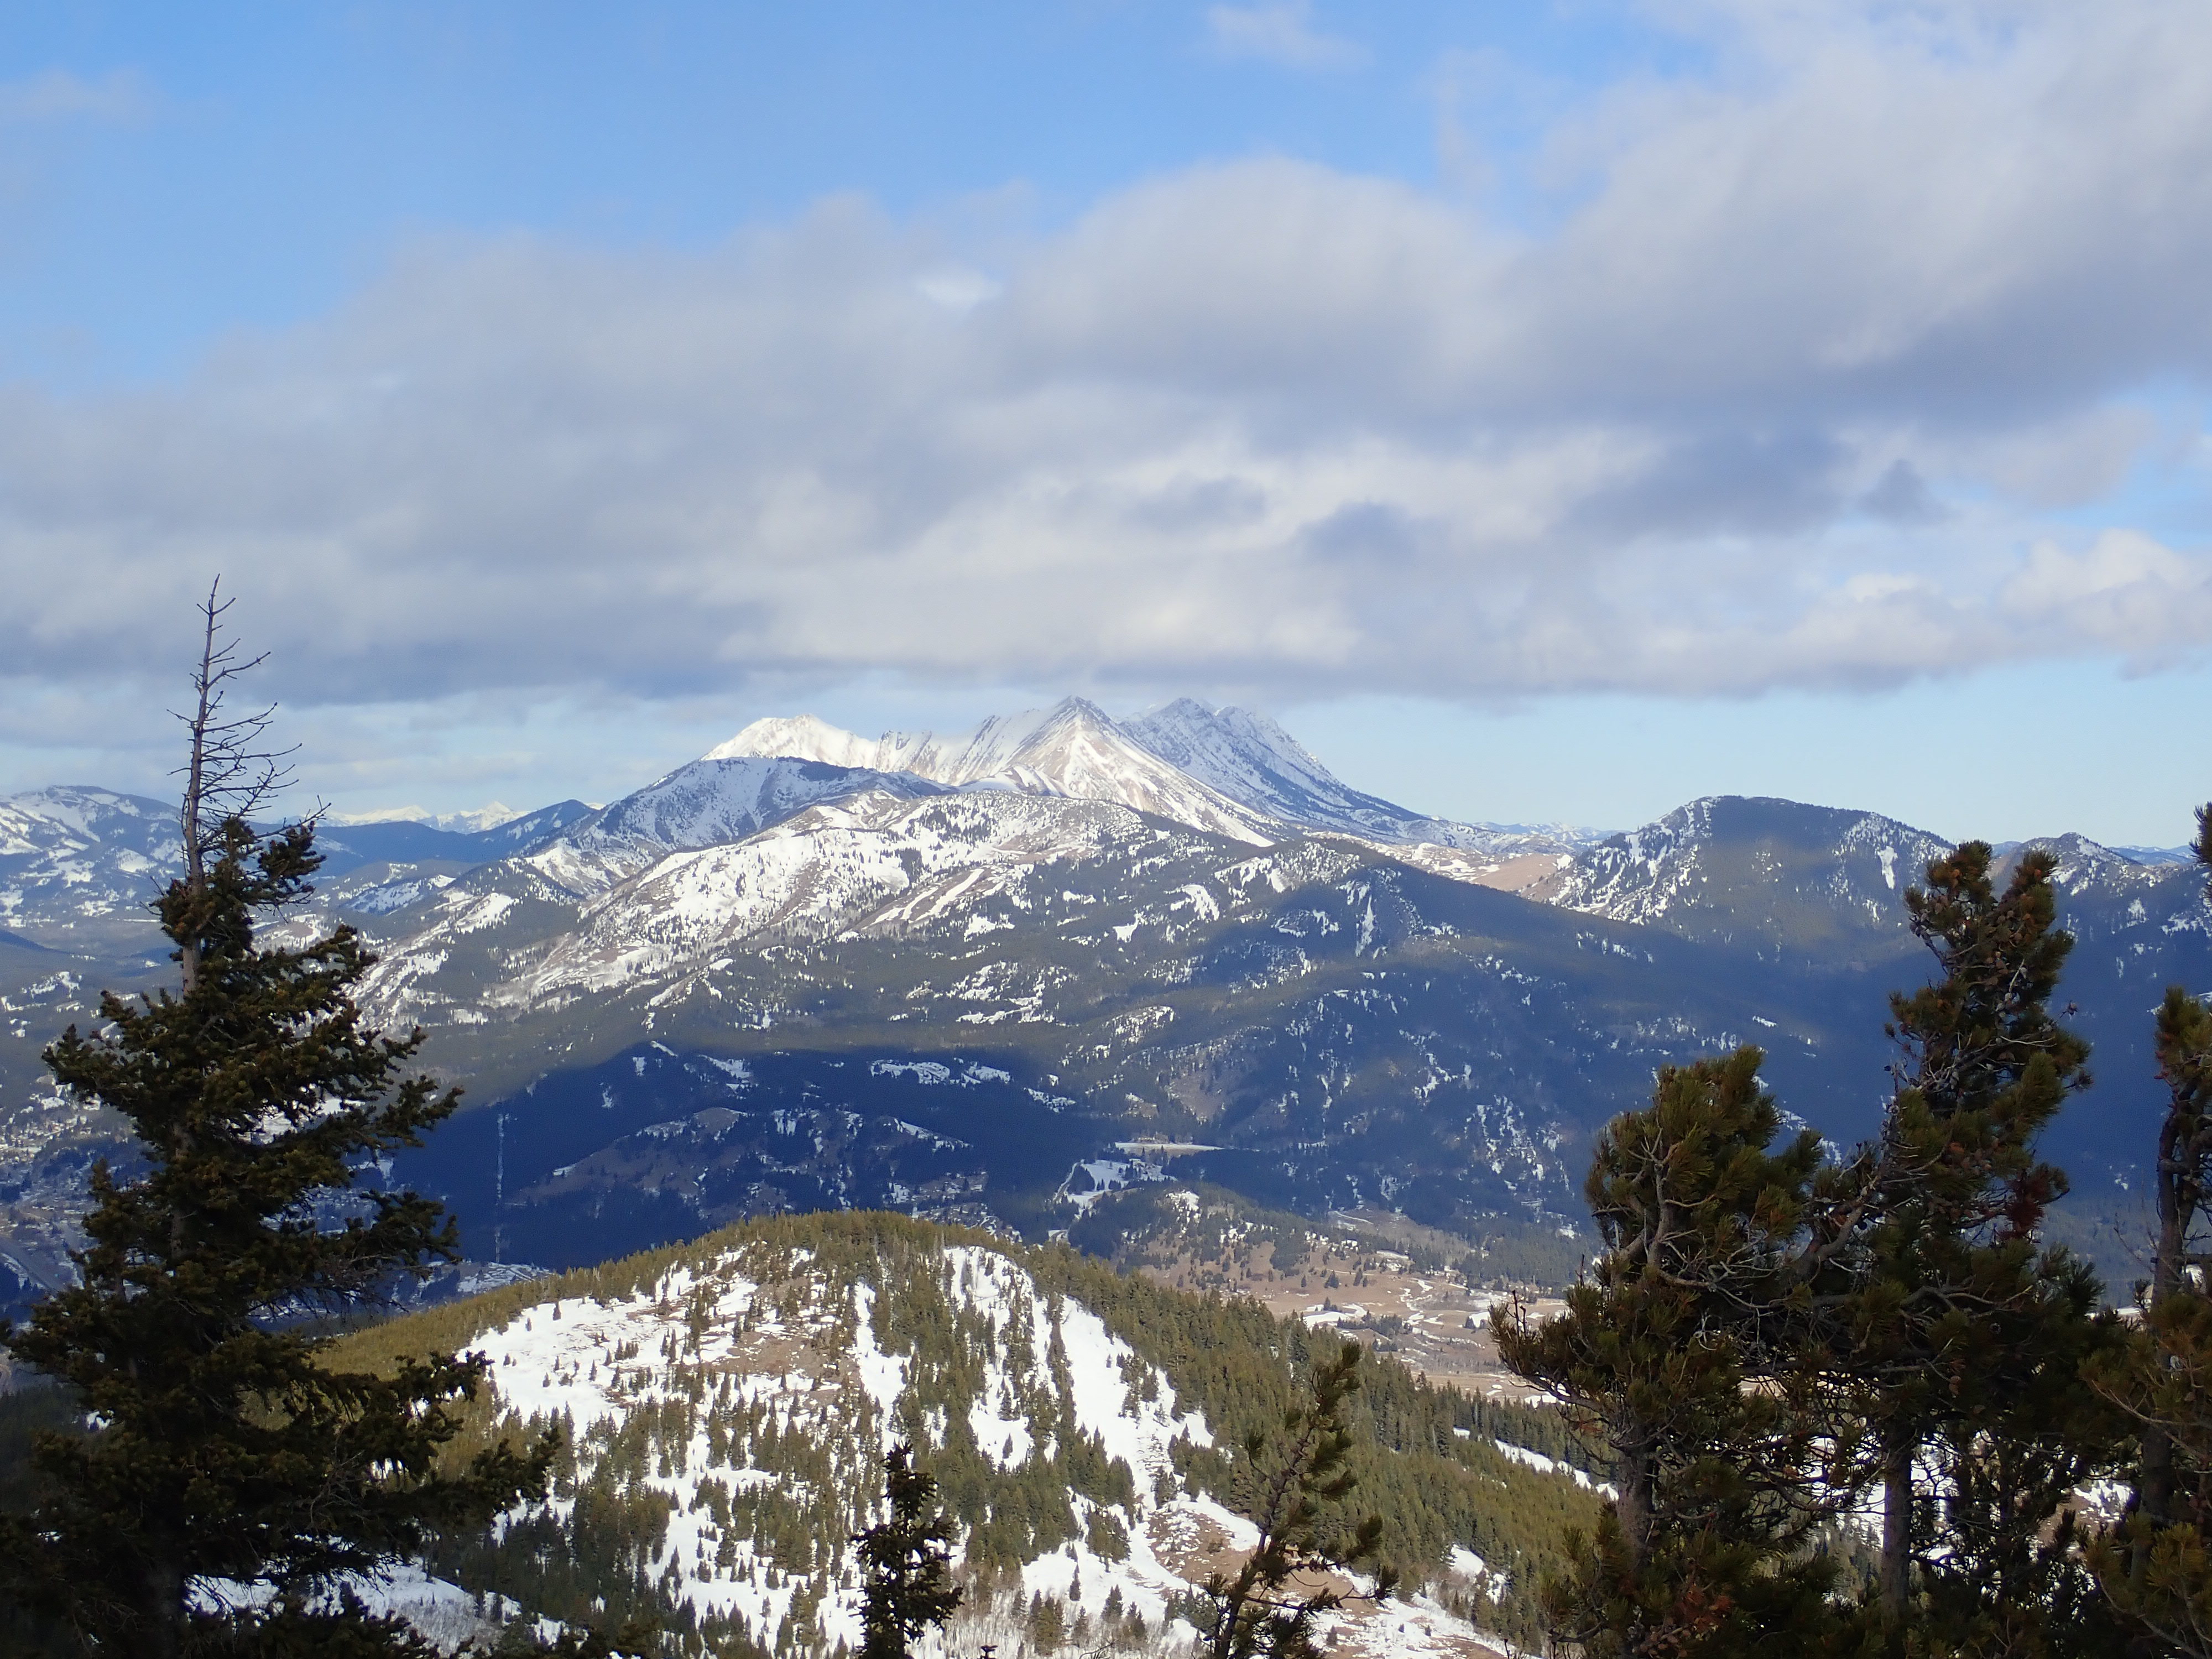
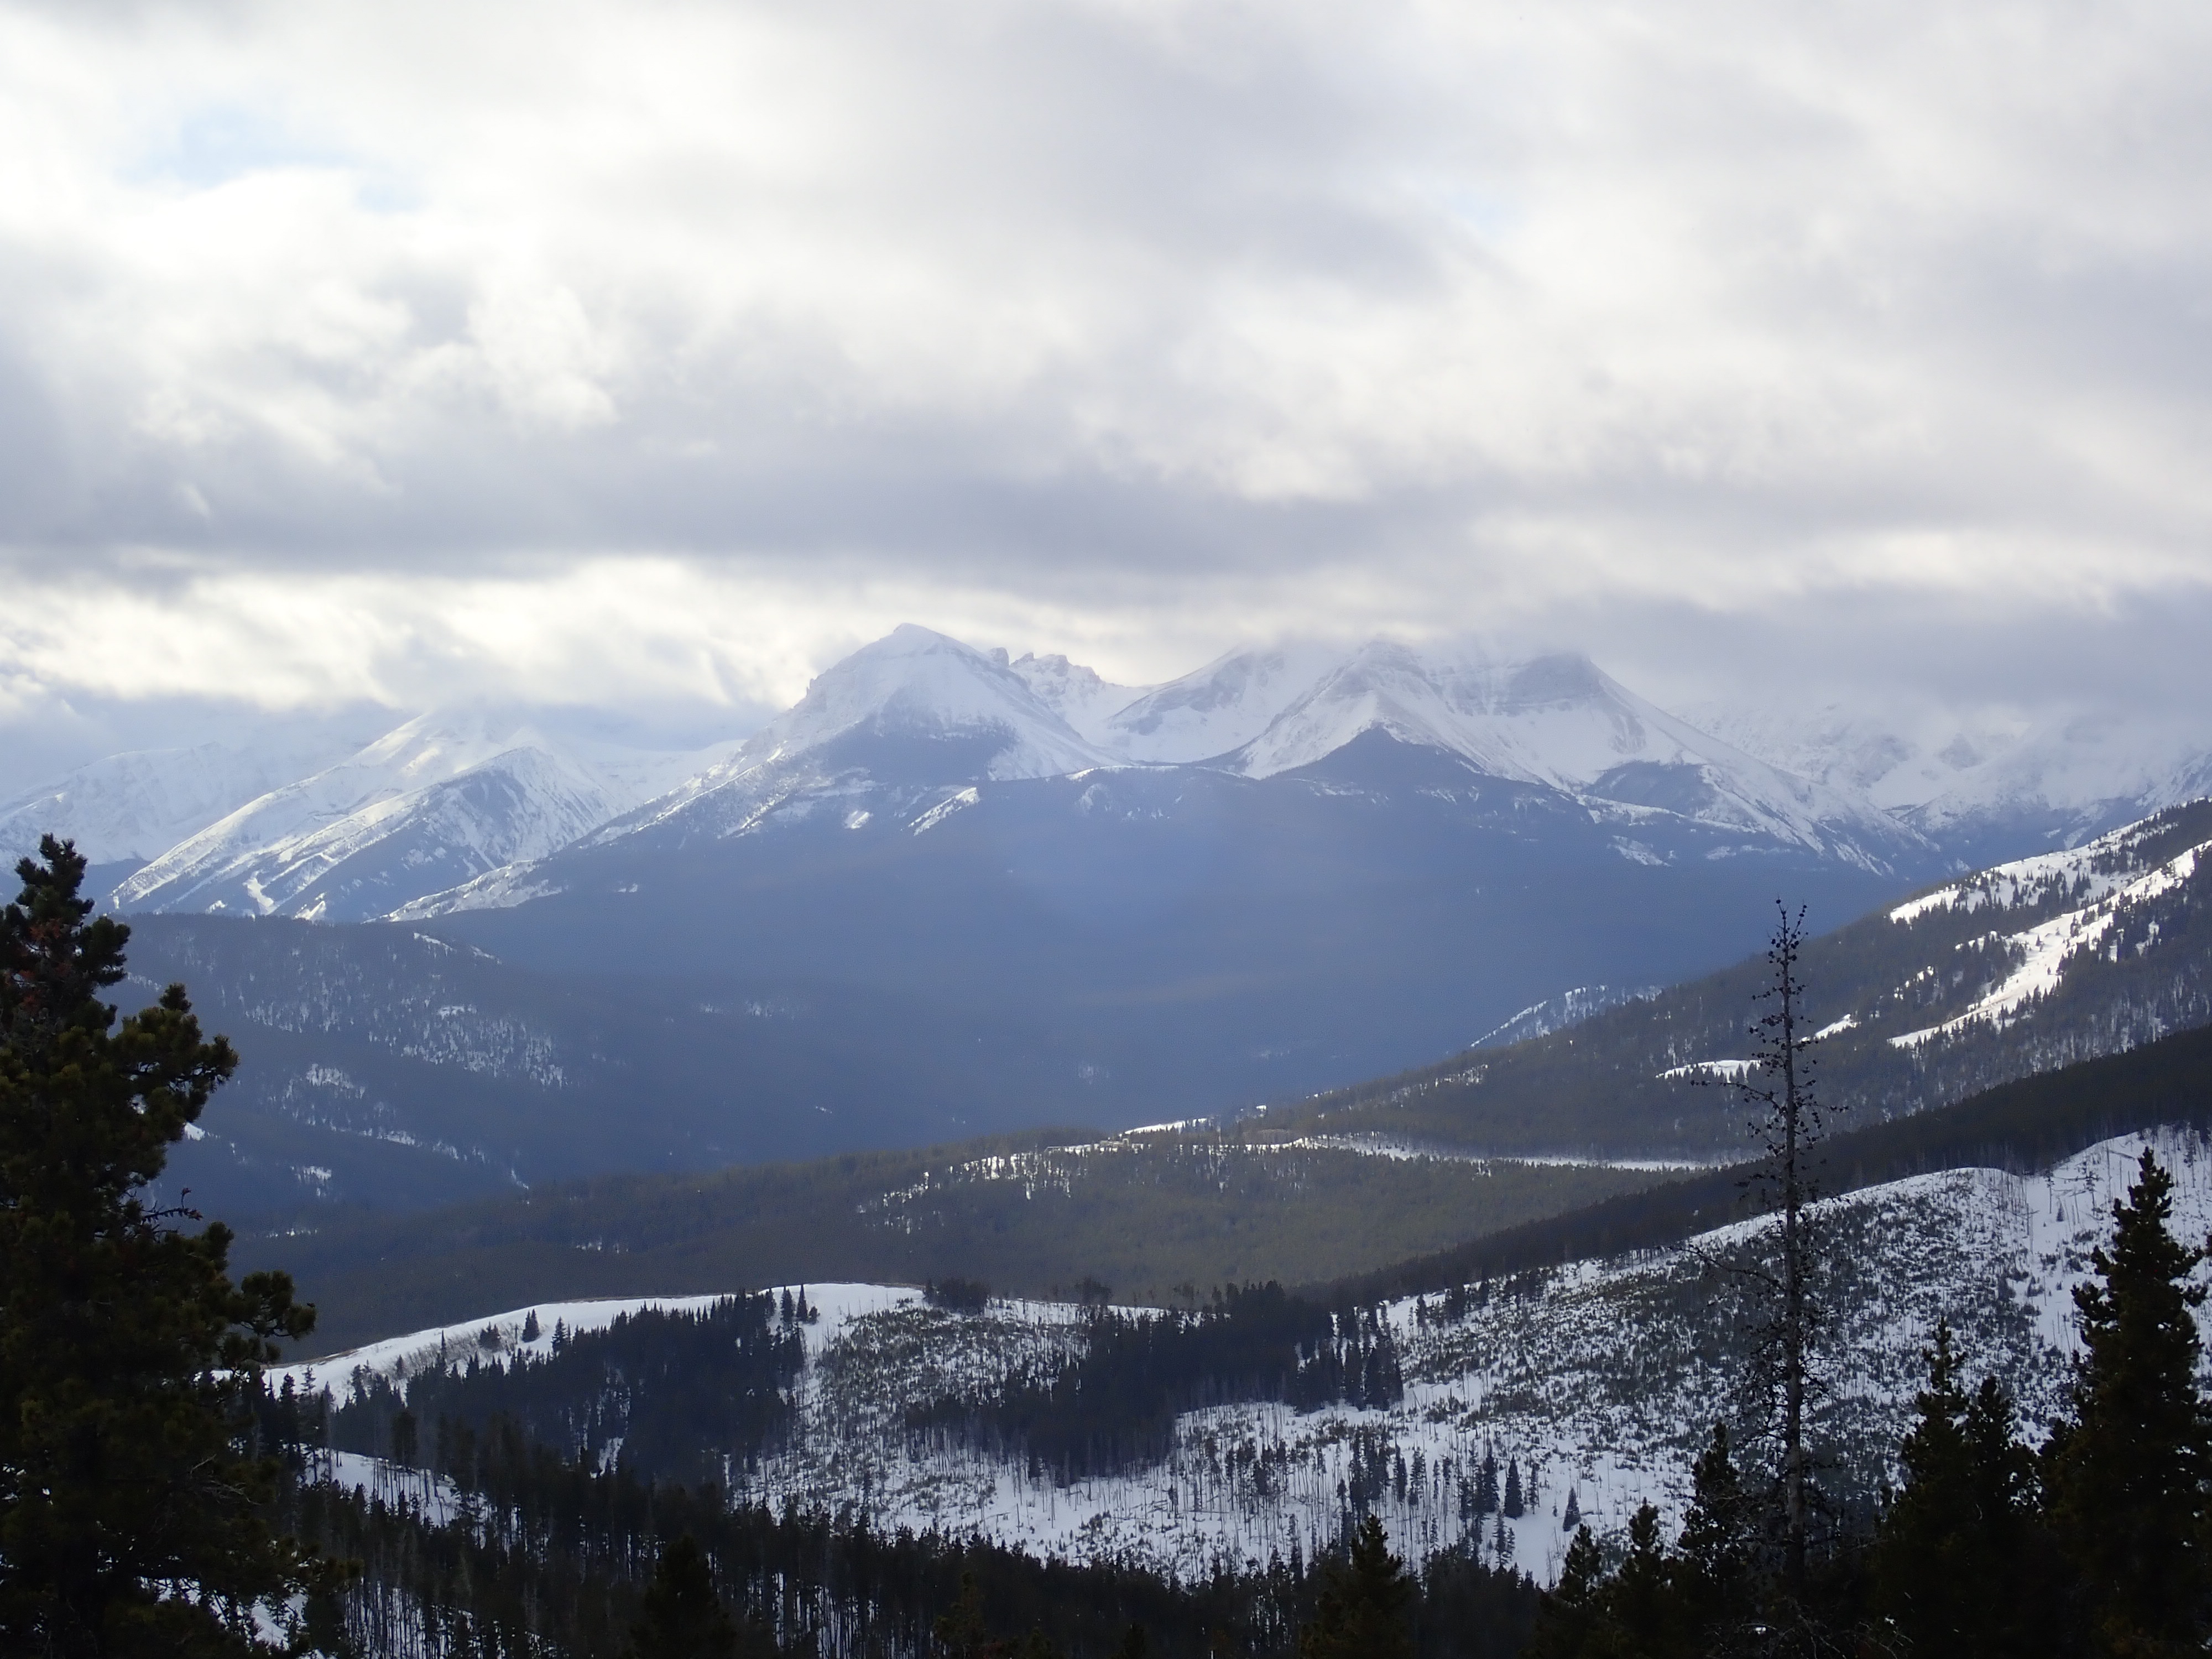
With that location, it makes for a decent snowshoe trip since it’s not really in avalanche territory (depending on your route), but the views from the summit include many of the more impressive peaks in the area (provided the weather cooperates).
Access to the starting point of the trip is via Adanac Road. East of Bellevue on Hwy 3, there’s a marked turn-off to East Hillcrest. Turn here and follow East Hillcrest Drive southwest, across the river, and follow the bend as it turns northwest. Beyond the bend, about 500-600 meters, there’s a sharp left onto Adanac Road. Eventually, there’s a “No Winter Maintenance Beyond this Point” sign. If the road is still drivable, continue 1.2 km beyond here. The route starts just beyond a cattle gate where the road takes a sharp right turn. Ask Google Maps to drop a pin here and it’ll direct you there: 49.537626, -114.359716
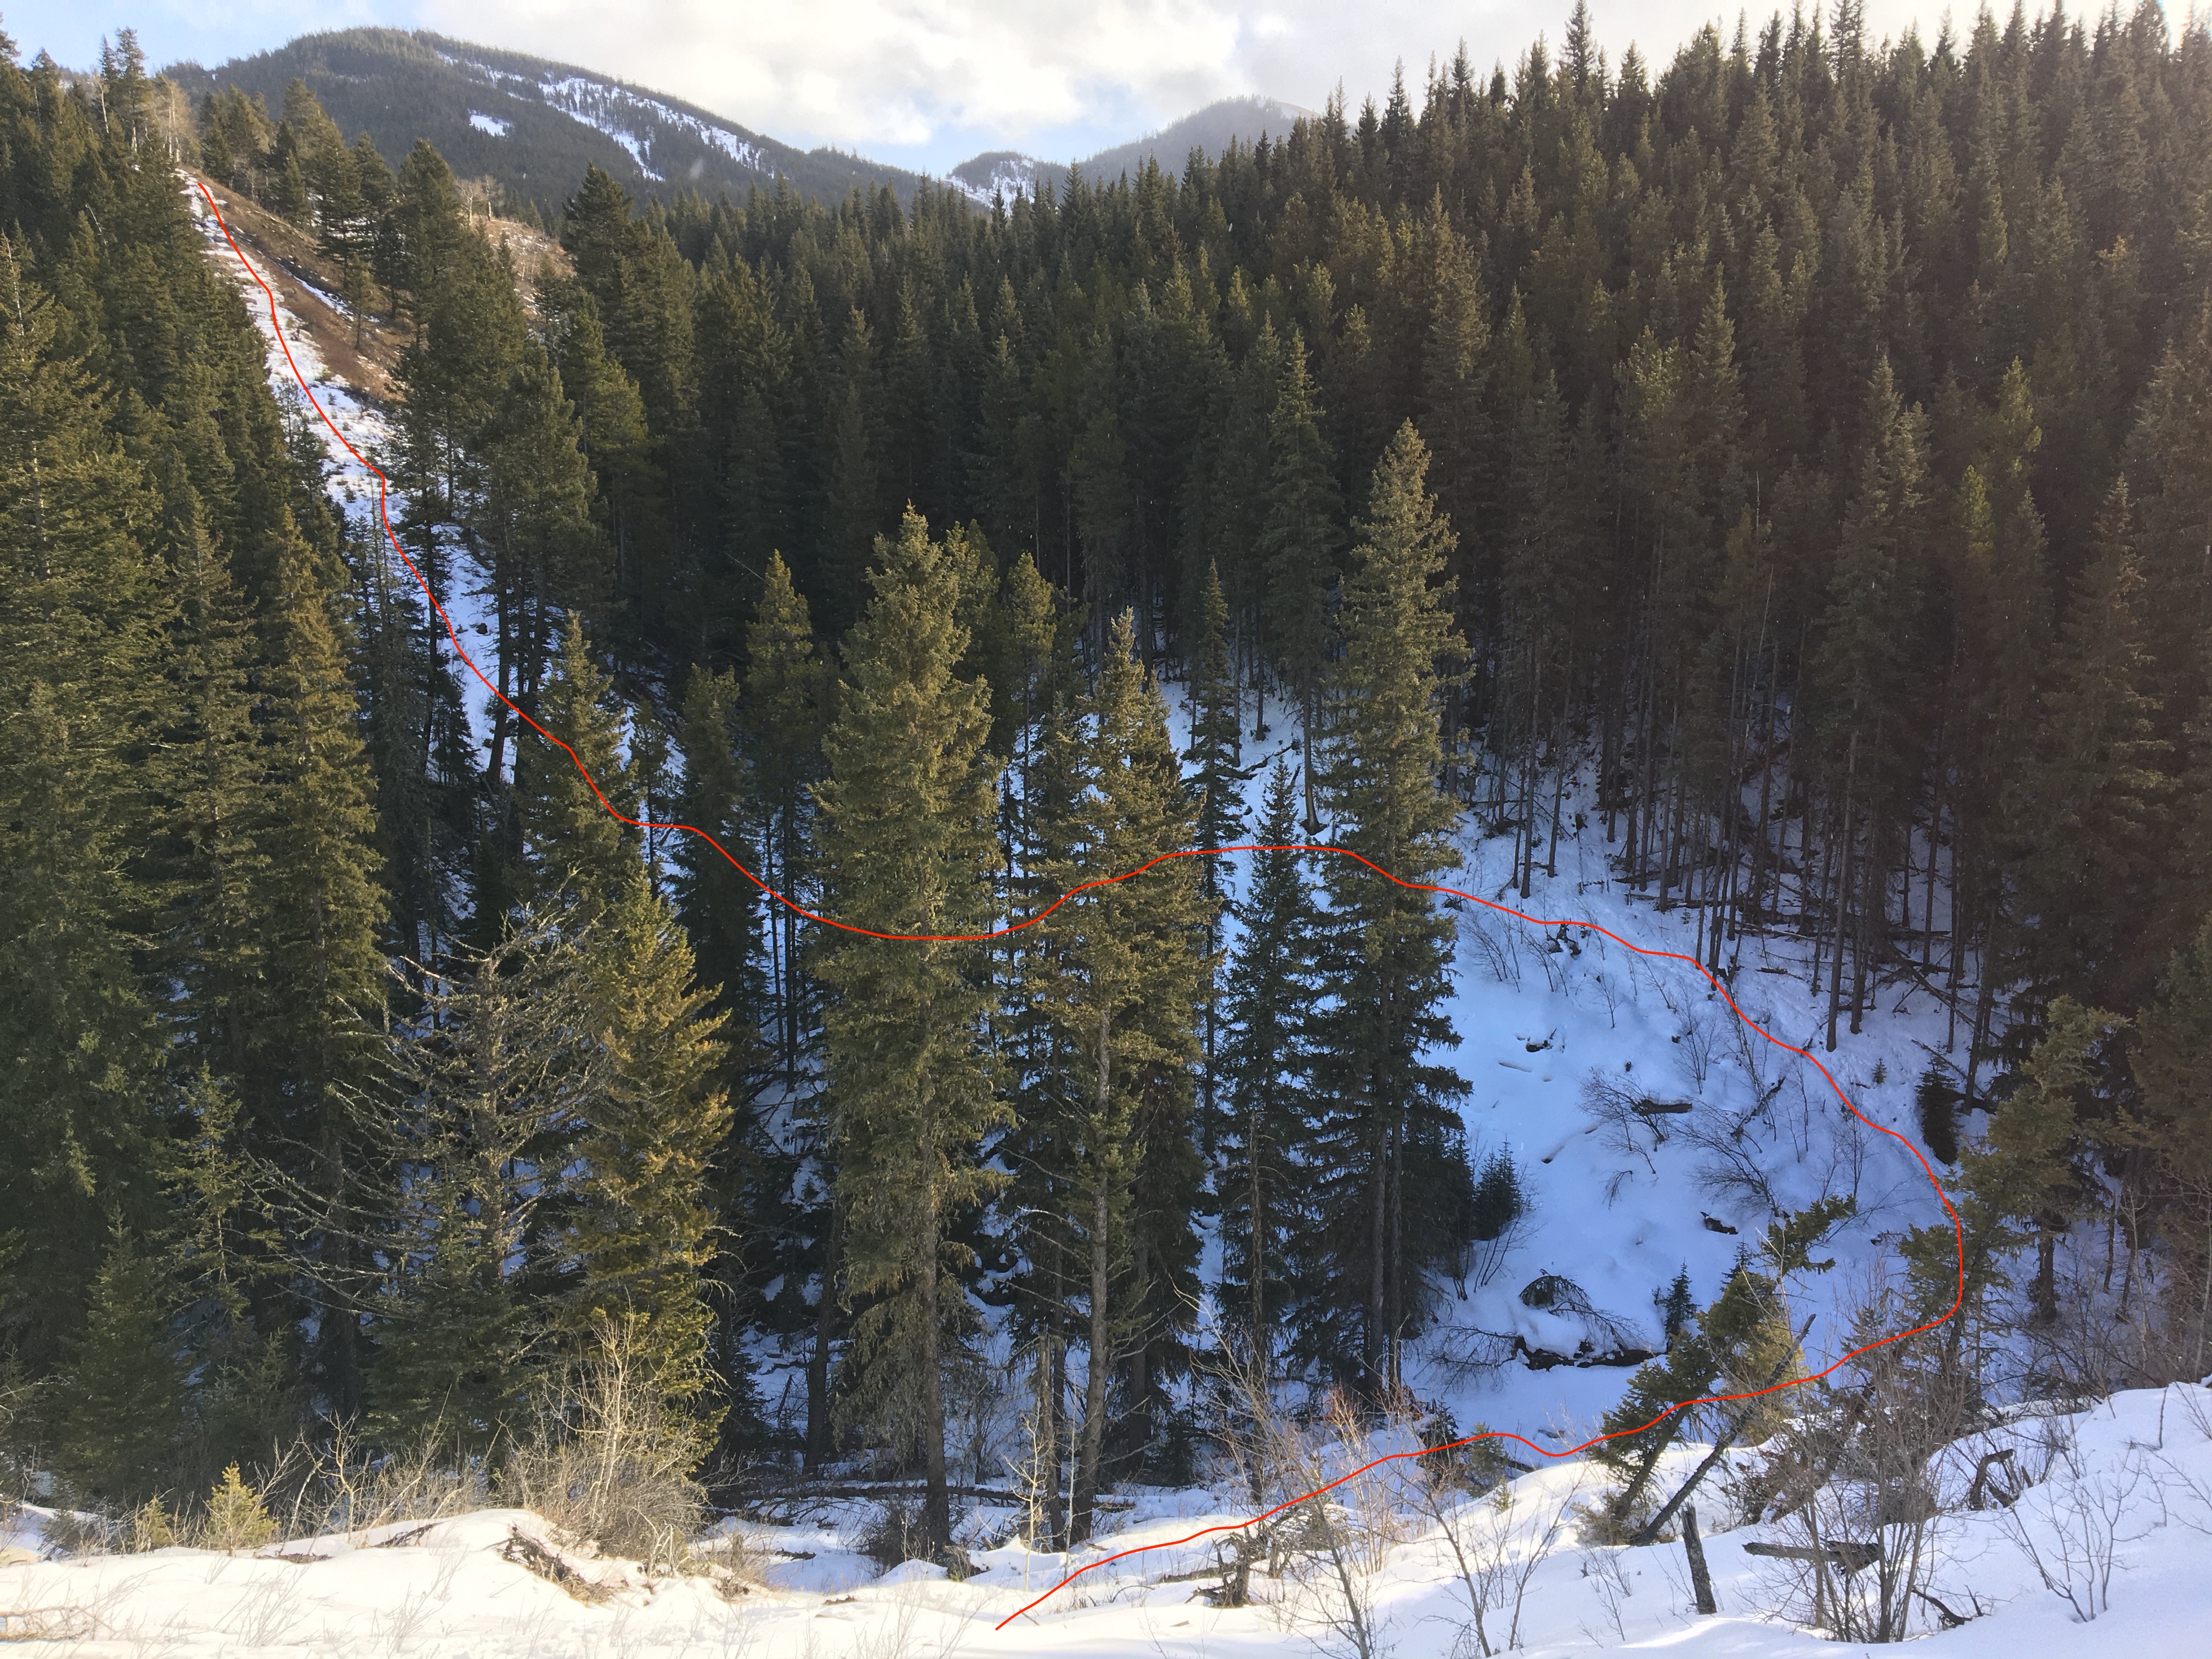
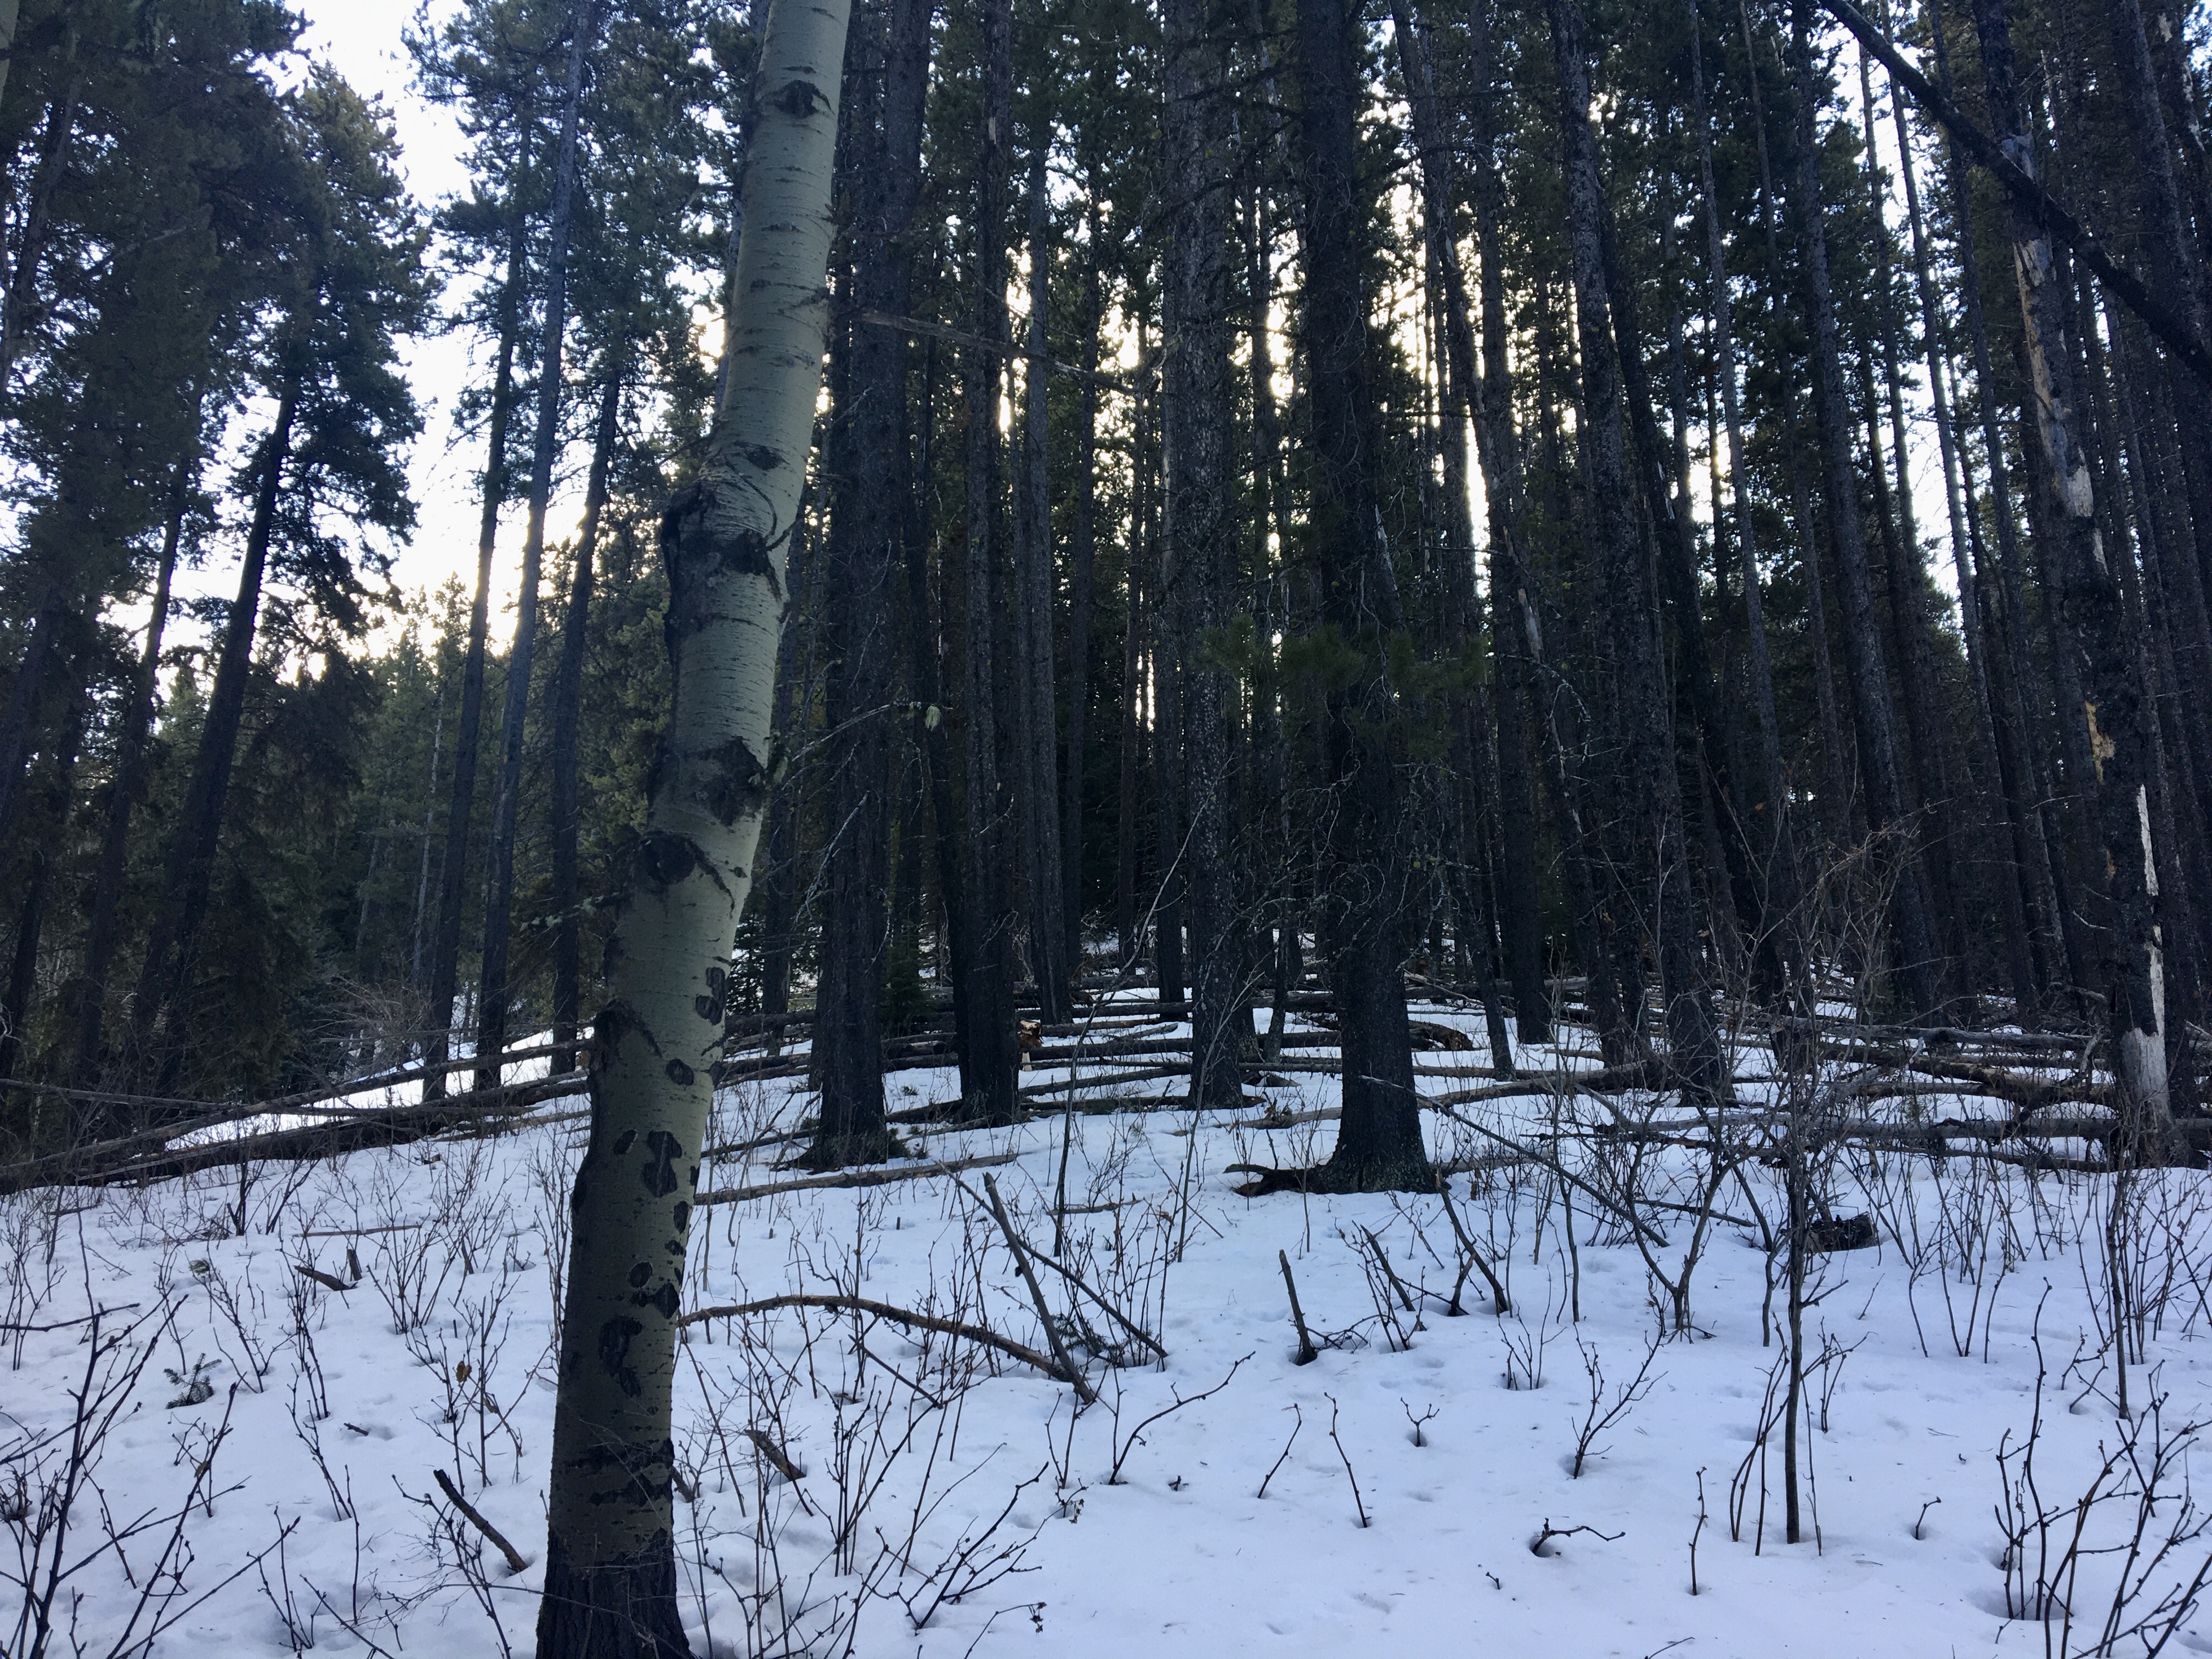
Where the road bends, I found there was ample open ground for parking. The route begins by following a gap in the trees south-east from the parking area. The only major difficulty of the trip is immediately encountered: Byron Creek and its steep-walled little valley. Nugara points out in his book that this part of the trip can be “brutal” and “very challenging”. I’d have to agree. Depending on conditions, I could see this being very dangerous. Not only is the descent very steep, the route out of the valley after crossing the creek is choked with deadfall. Snow-covered gaps and drops abound. A healthy respect for the hazard, careful movement, and use of poles to probe the snow-cover are all a good idea.
This time of year the creek is largely frozen over, and not very high-running where it isn’t. Trips at other times of the year may have to contend with higher water levels, adding slightly to the complexity.
After crossing the creek, the route goes leftwards, keeping out of the trees and immediately crossing a little tributary stream. Ascending out of the valley on the open ground, a lone-standing tree can be seen which serves as a good route marker.
I’d stowed my snowshoes on my pack up to this point. Snow cover was shallow and patchy on the descent slope. It was deep in the area of the deadfall, but not such a thick blanket that I could escape getting snagged if I had the snowshoes on. Once I’d ascended out of the valley I put them on and encountered plenty of deep snow.
Once out of the valley, they way is pretty obvious. Heading generally southeast in the open area amongst the trees, the route crosses another little stream then ascends, turns slightly left, and becomes a very obvious route through the trees. This old road can be followed all the way up to the summit, but I decided to leave the road to reach the ridge above it, thus getting to the views a little faster. At about 1.5 km along the route, the road ascends a bit into a very large clearing. The road continues beyond the clearing, but I diverged at this point to head up through the trees heading for the ridge. This is the route Bob Spirko describes on his blog, and which is amongst the pre-installed tracks on the TopoMaps Canada app (I have a strong suspicion that a very large number of the routes pre-installed on that app are Bob’s). Nugara advises staying on the road for a short distance beyond this clearing (which isn’t specifically mentioned in the book) and watching for a clear treeless route heading left up to the ridge. I think this would have been a better way to go.
In any event, I found my way through the trees, navigating around a snow-choked gully and eventually made it to the ridge. The gully was a pretty clear hazard, and there was even some whumph-ing as I climbed around, staying up on one edge of it.
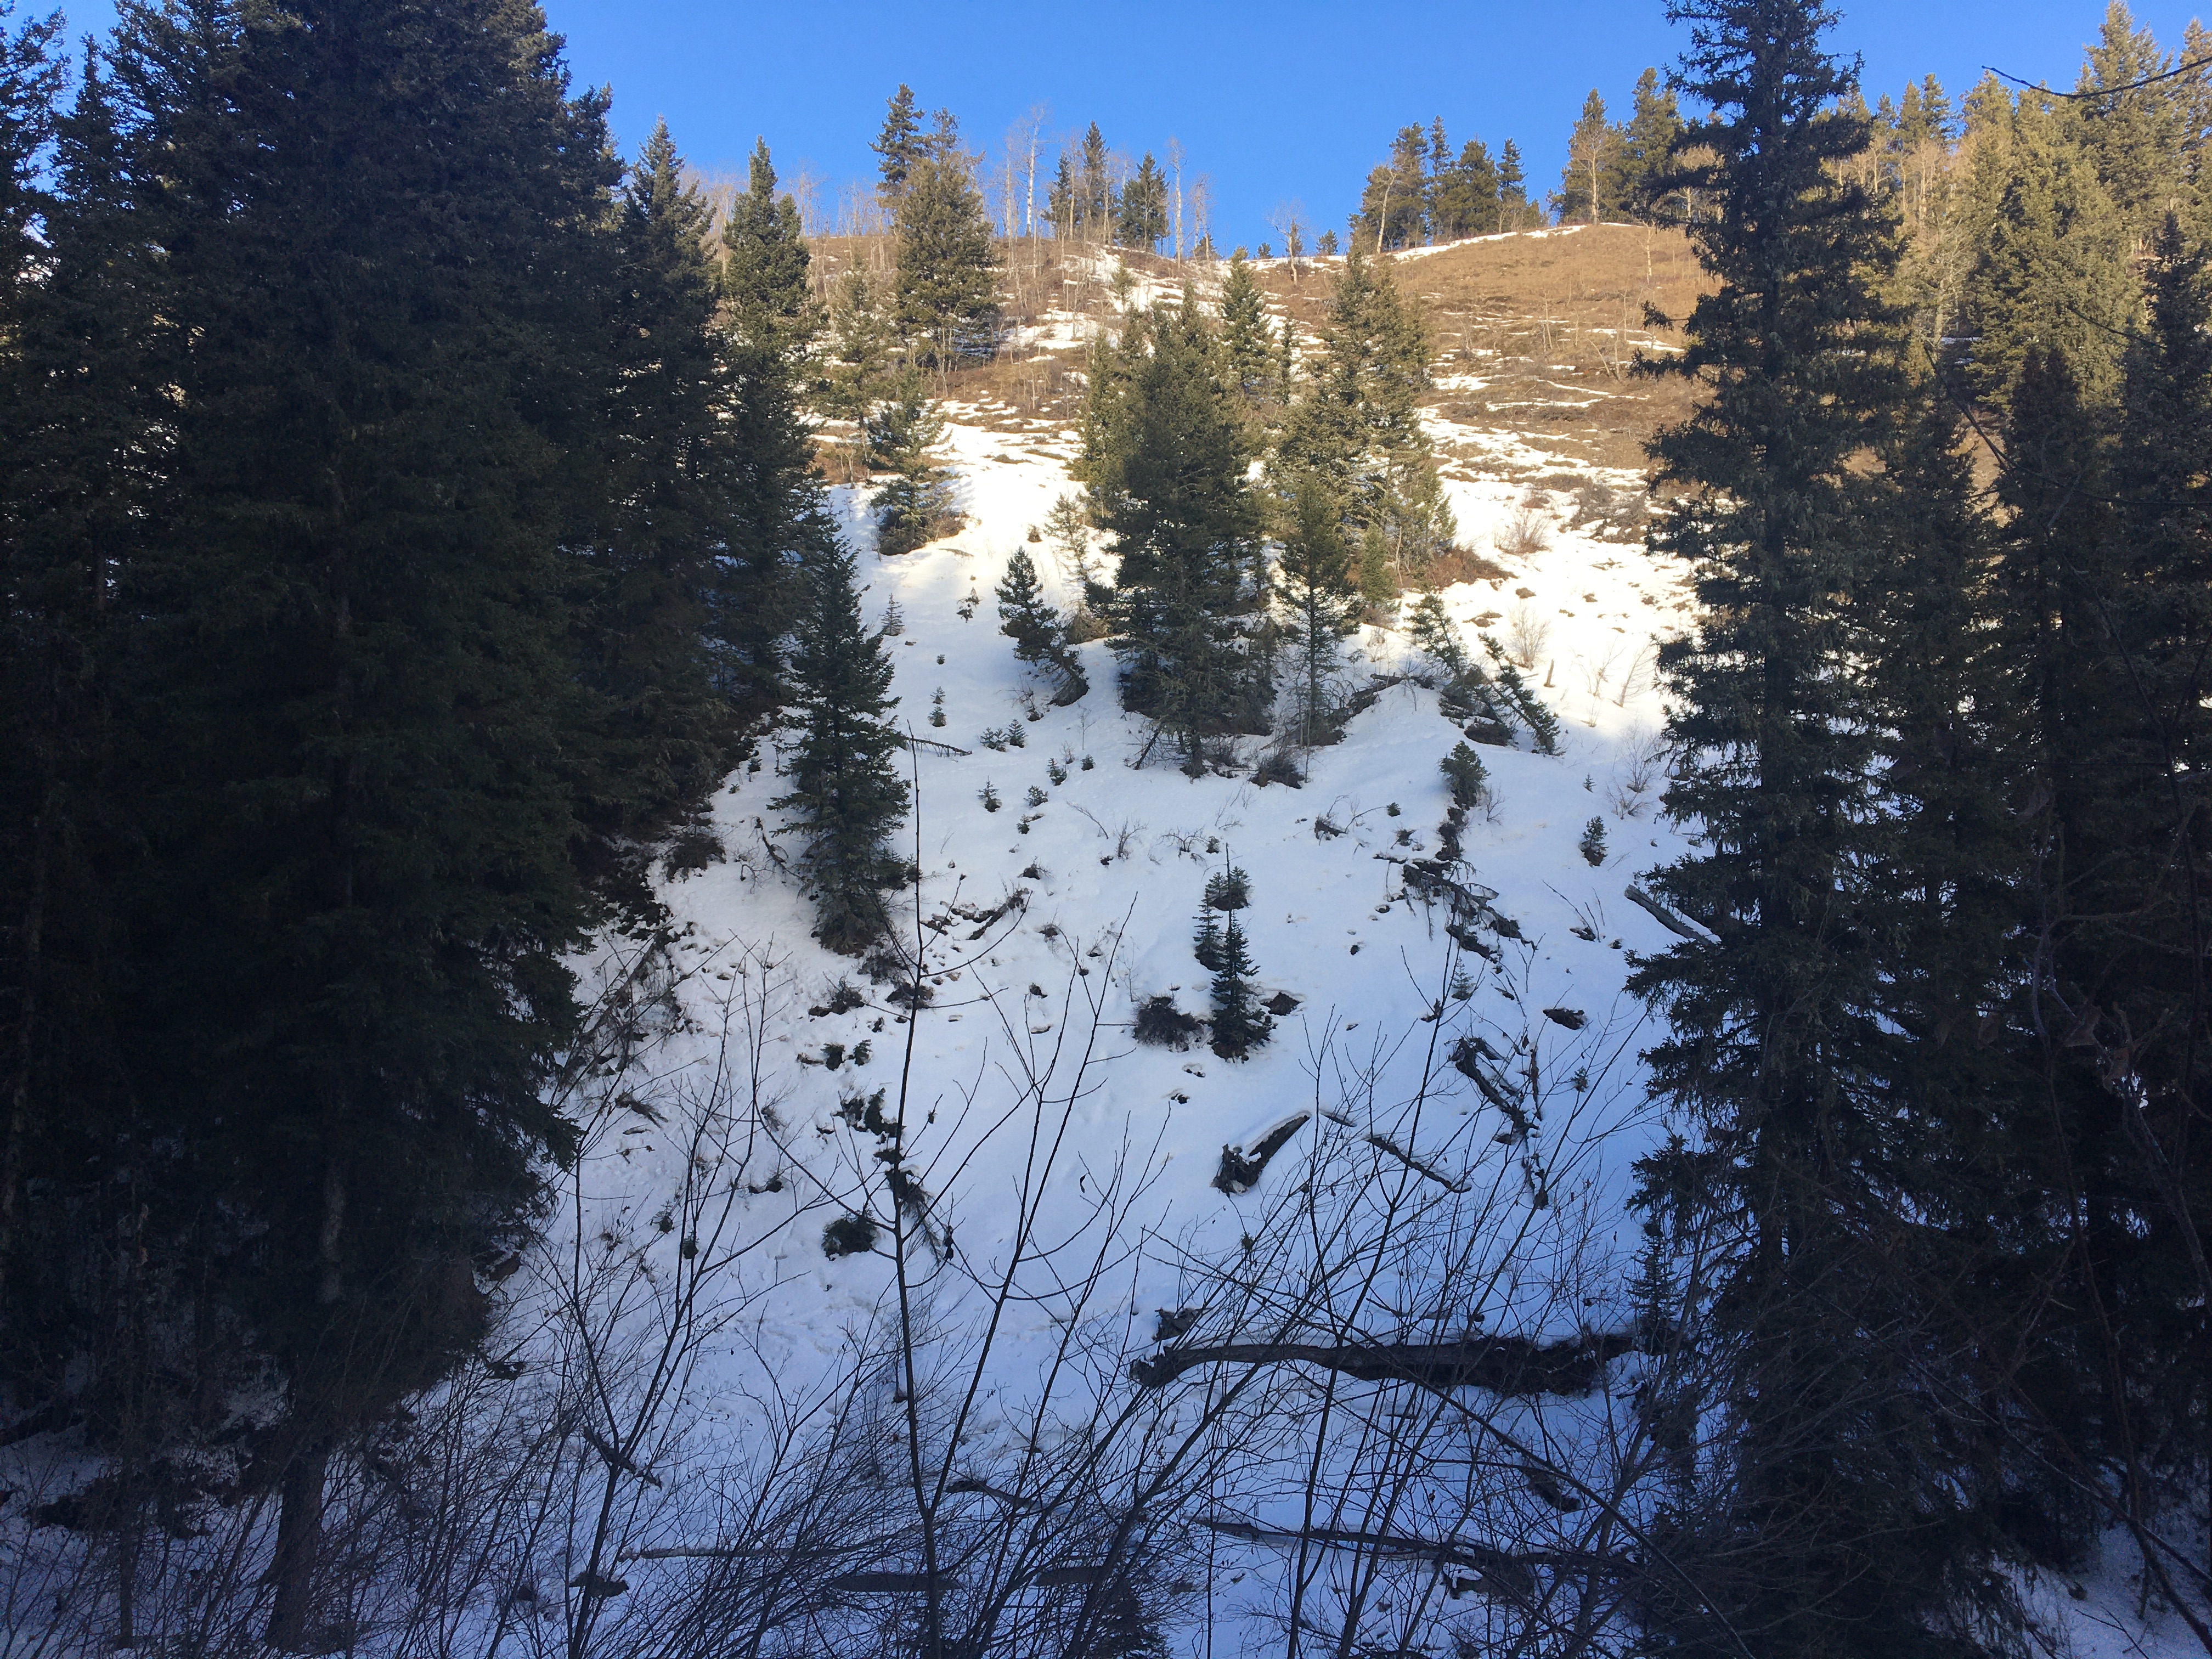
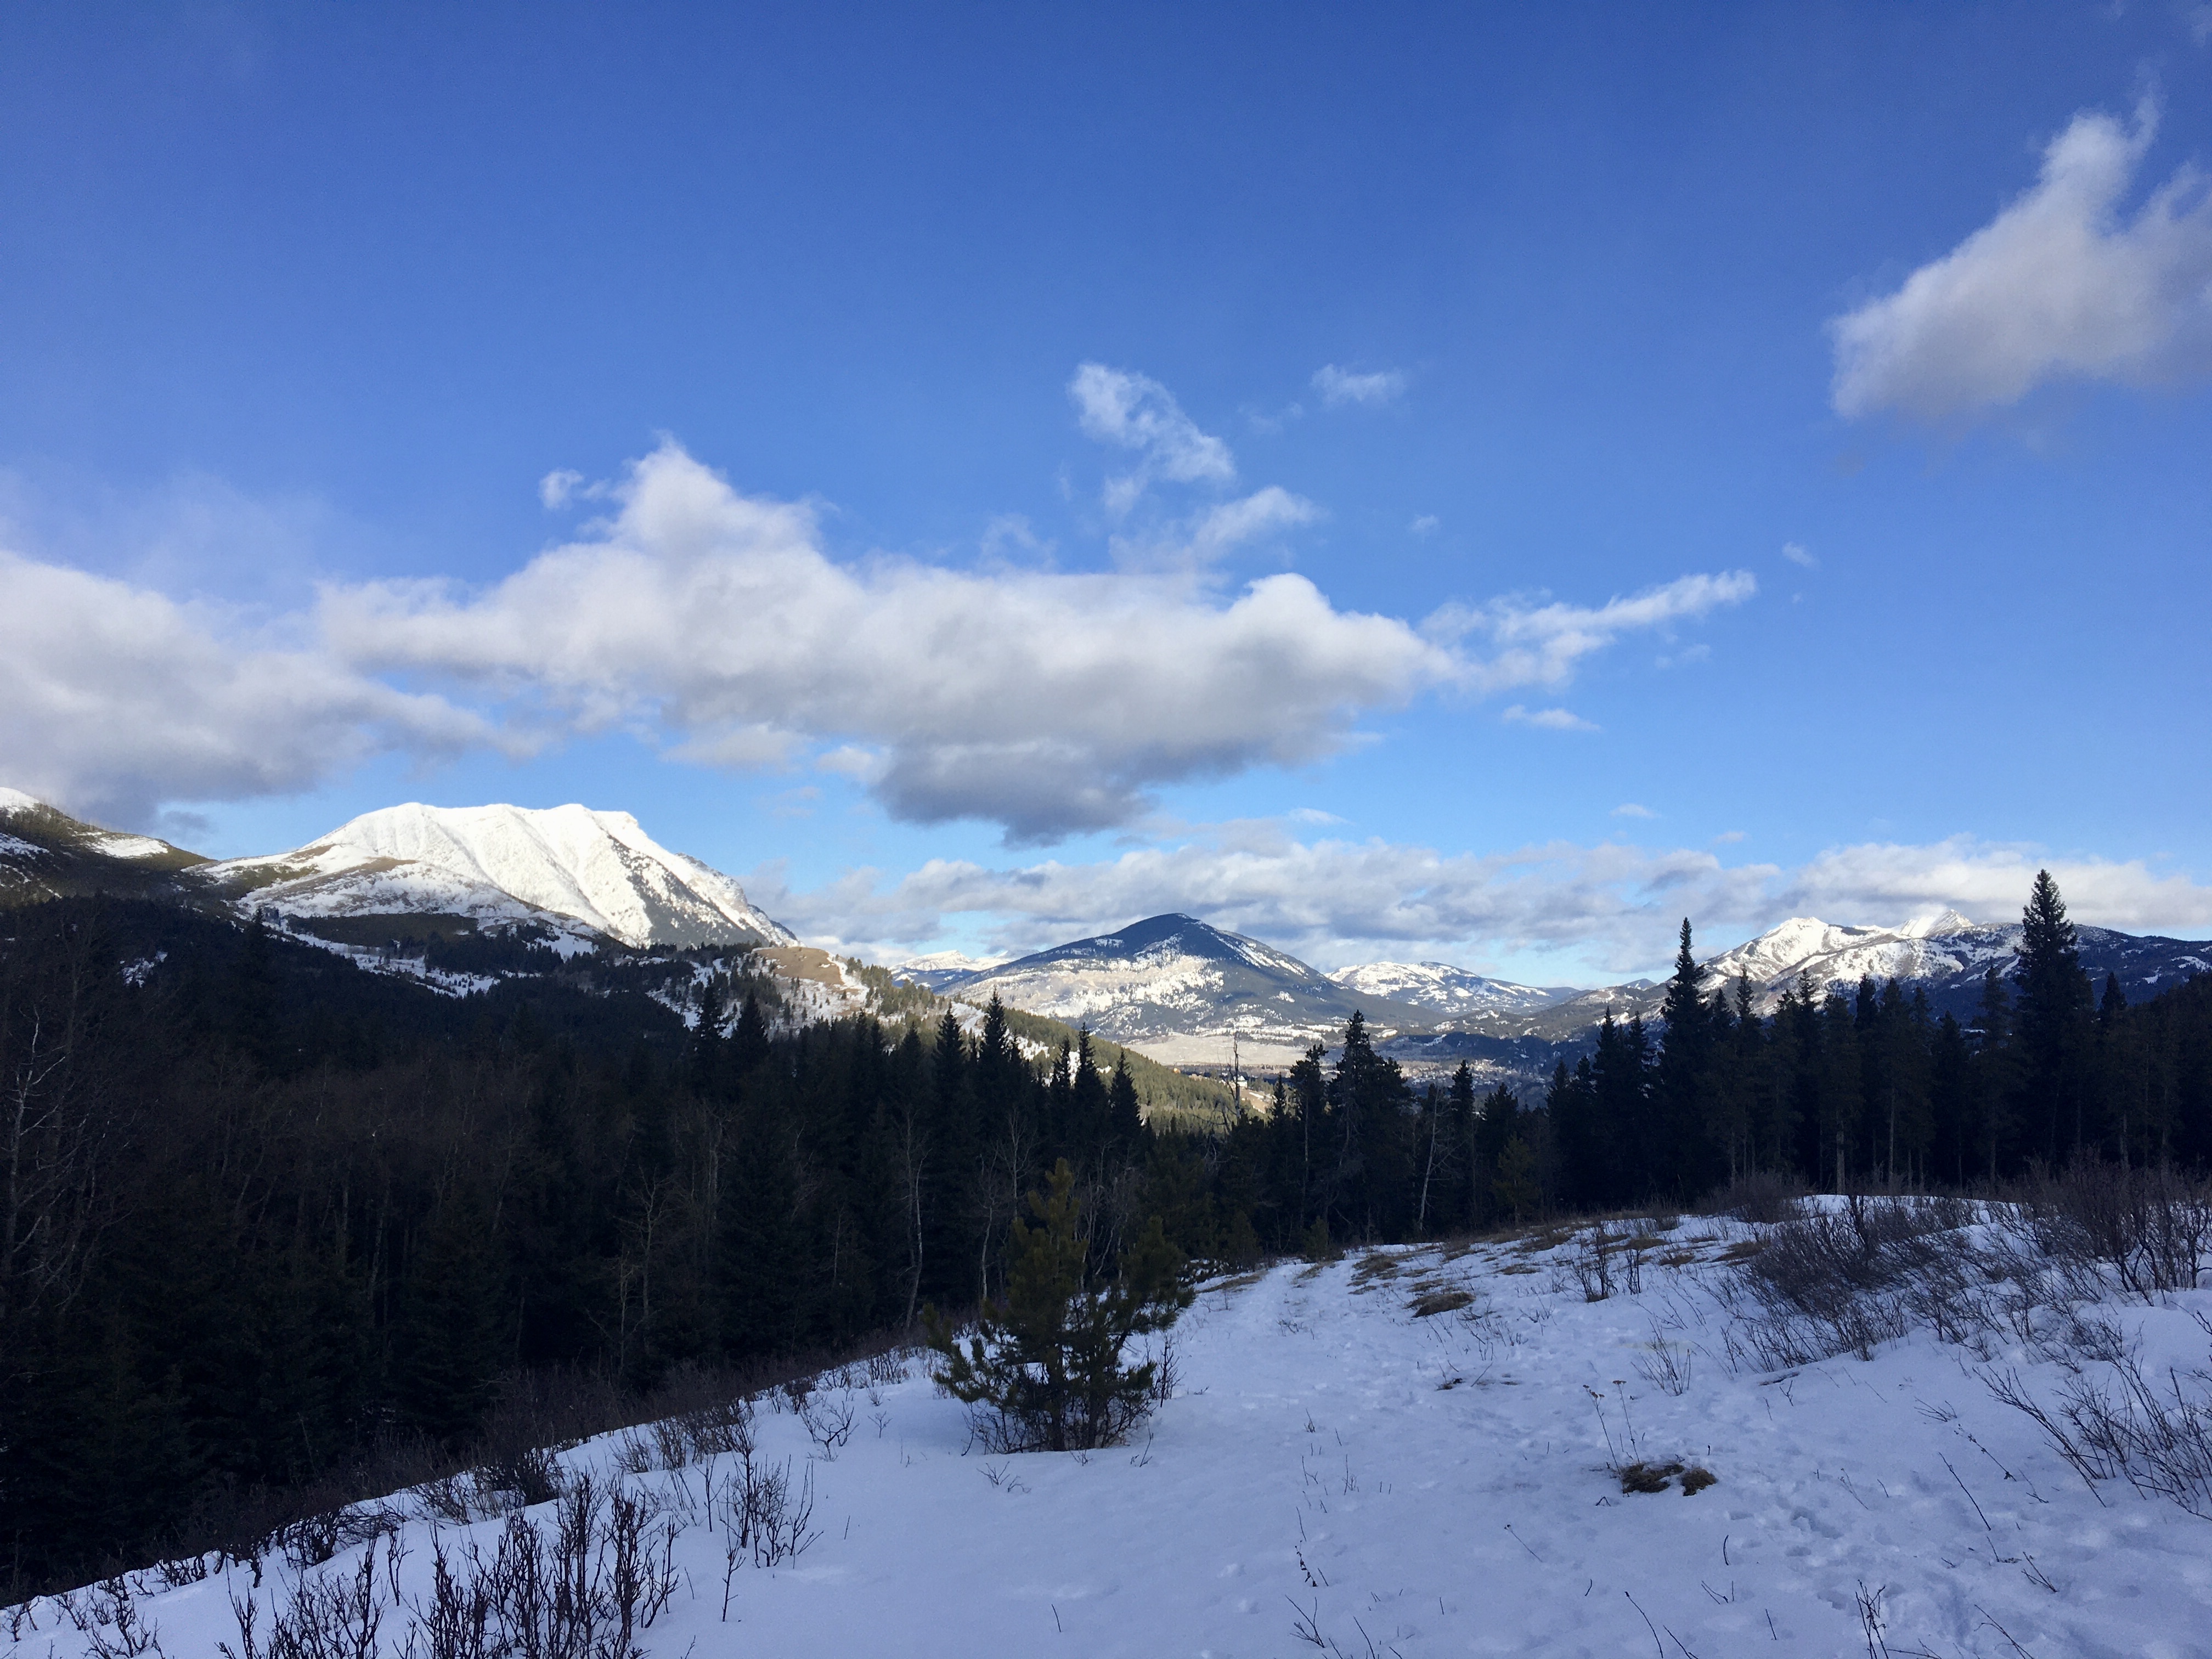
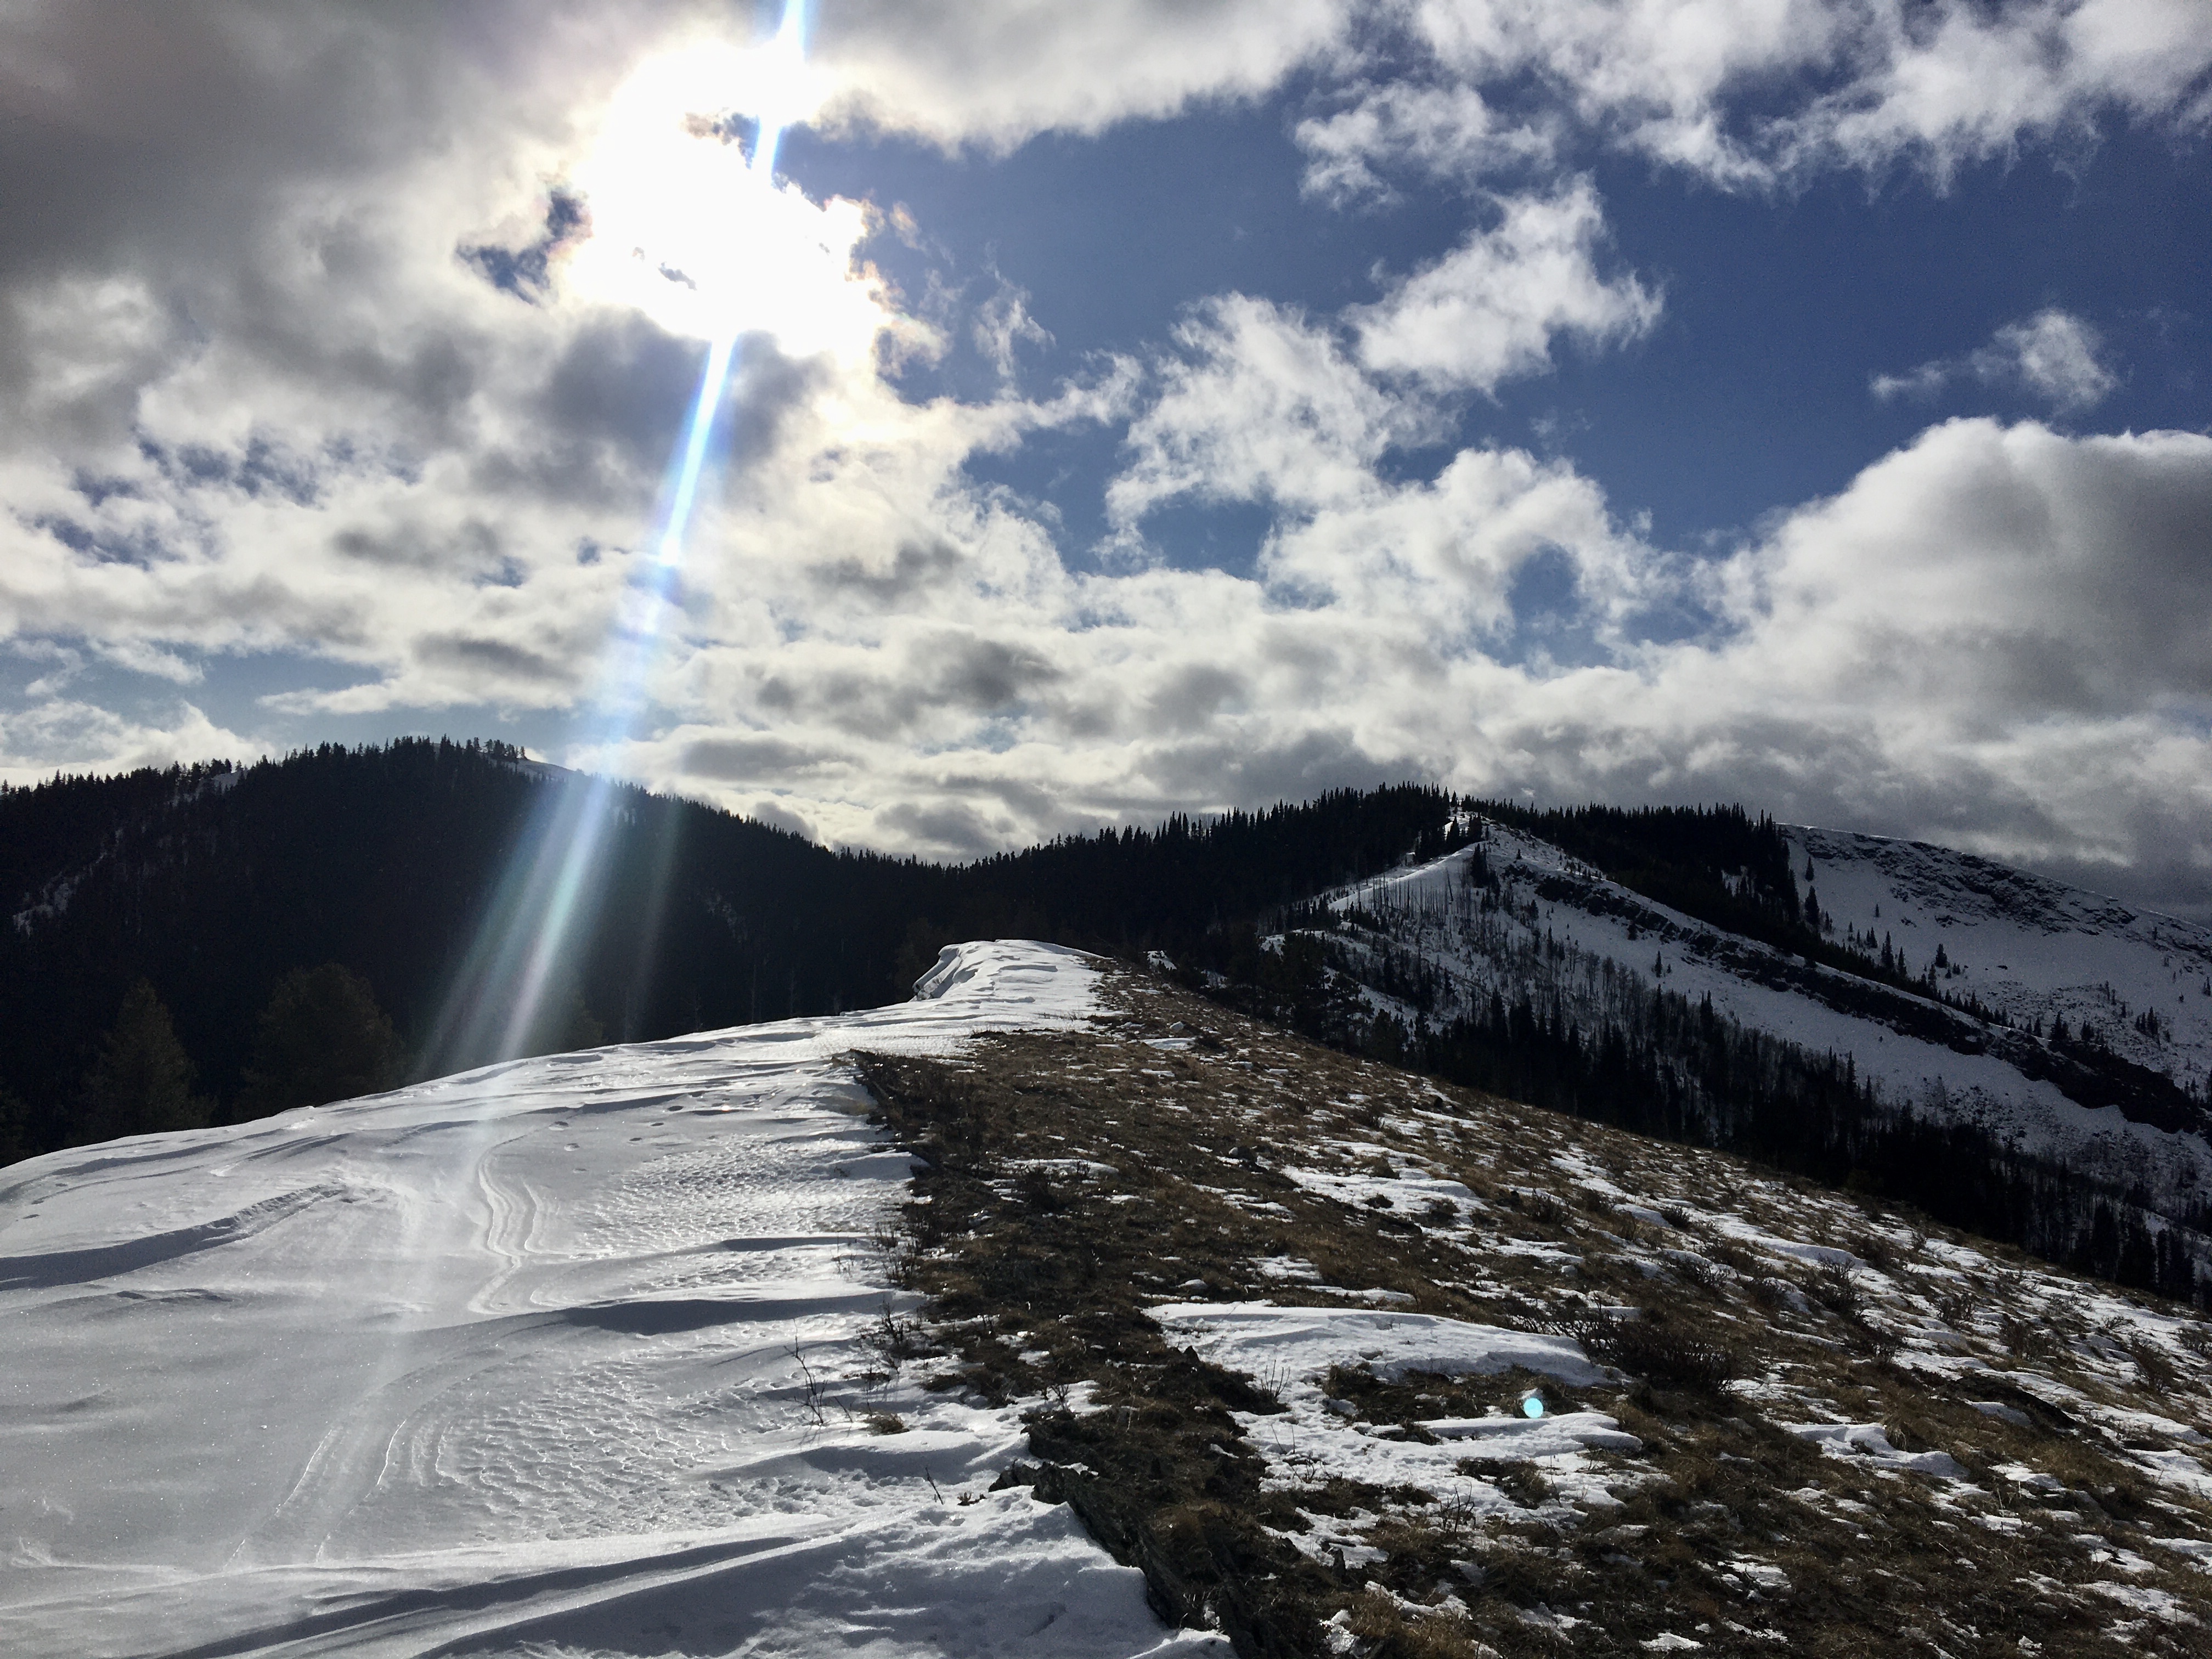
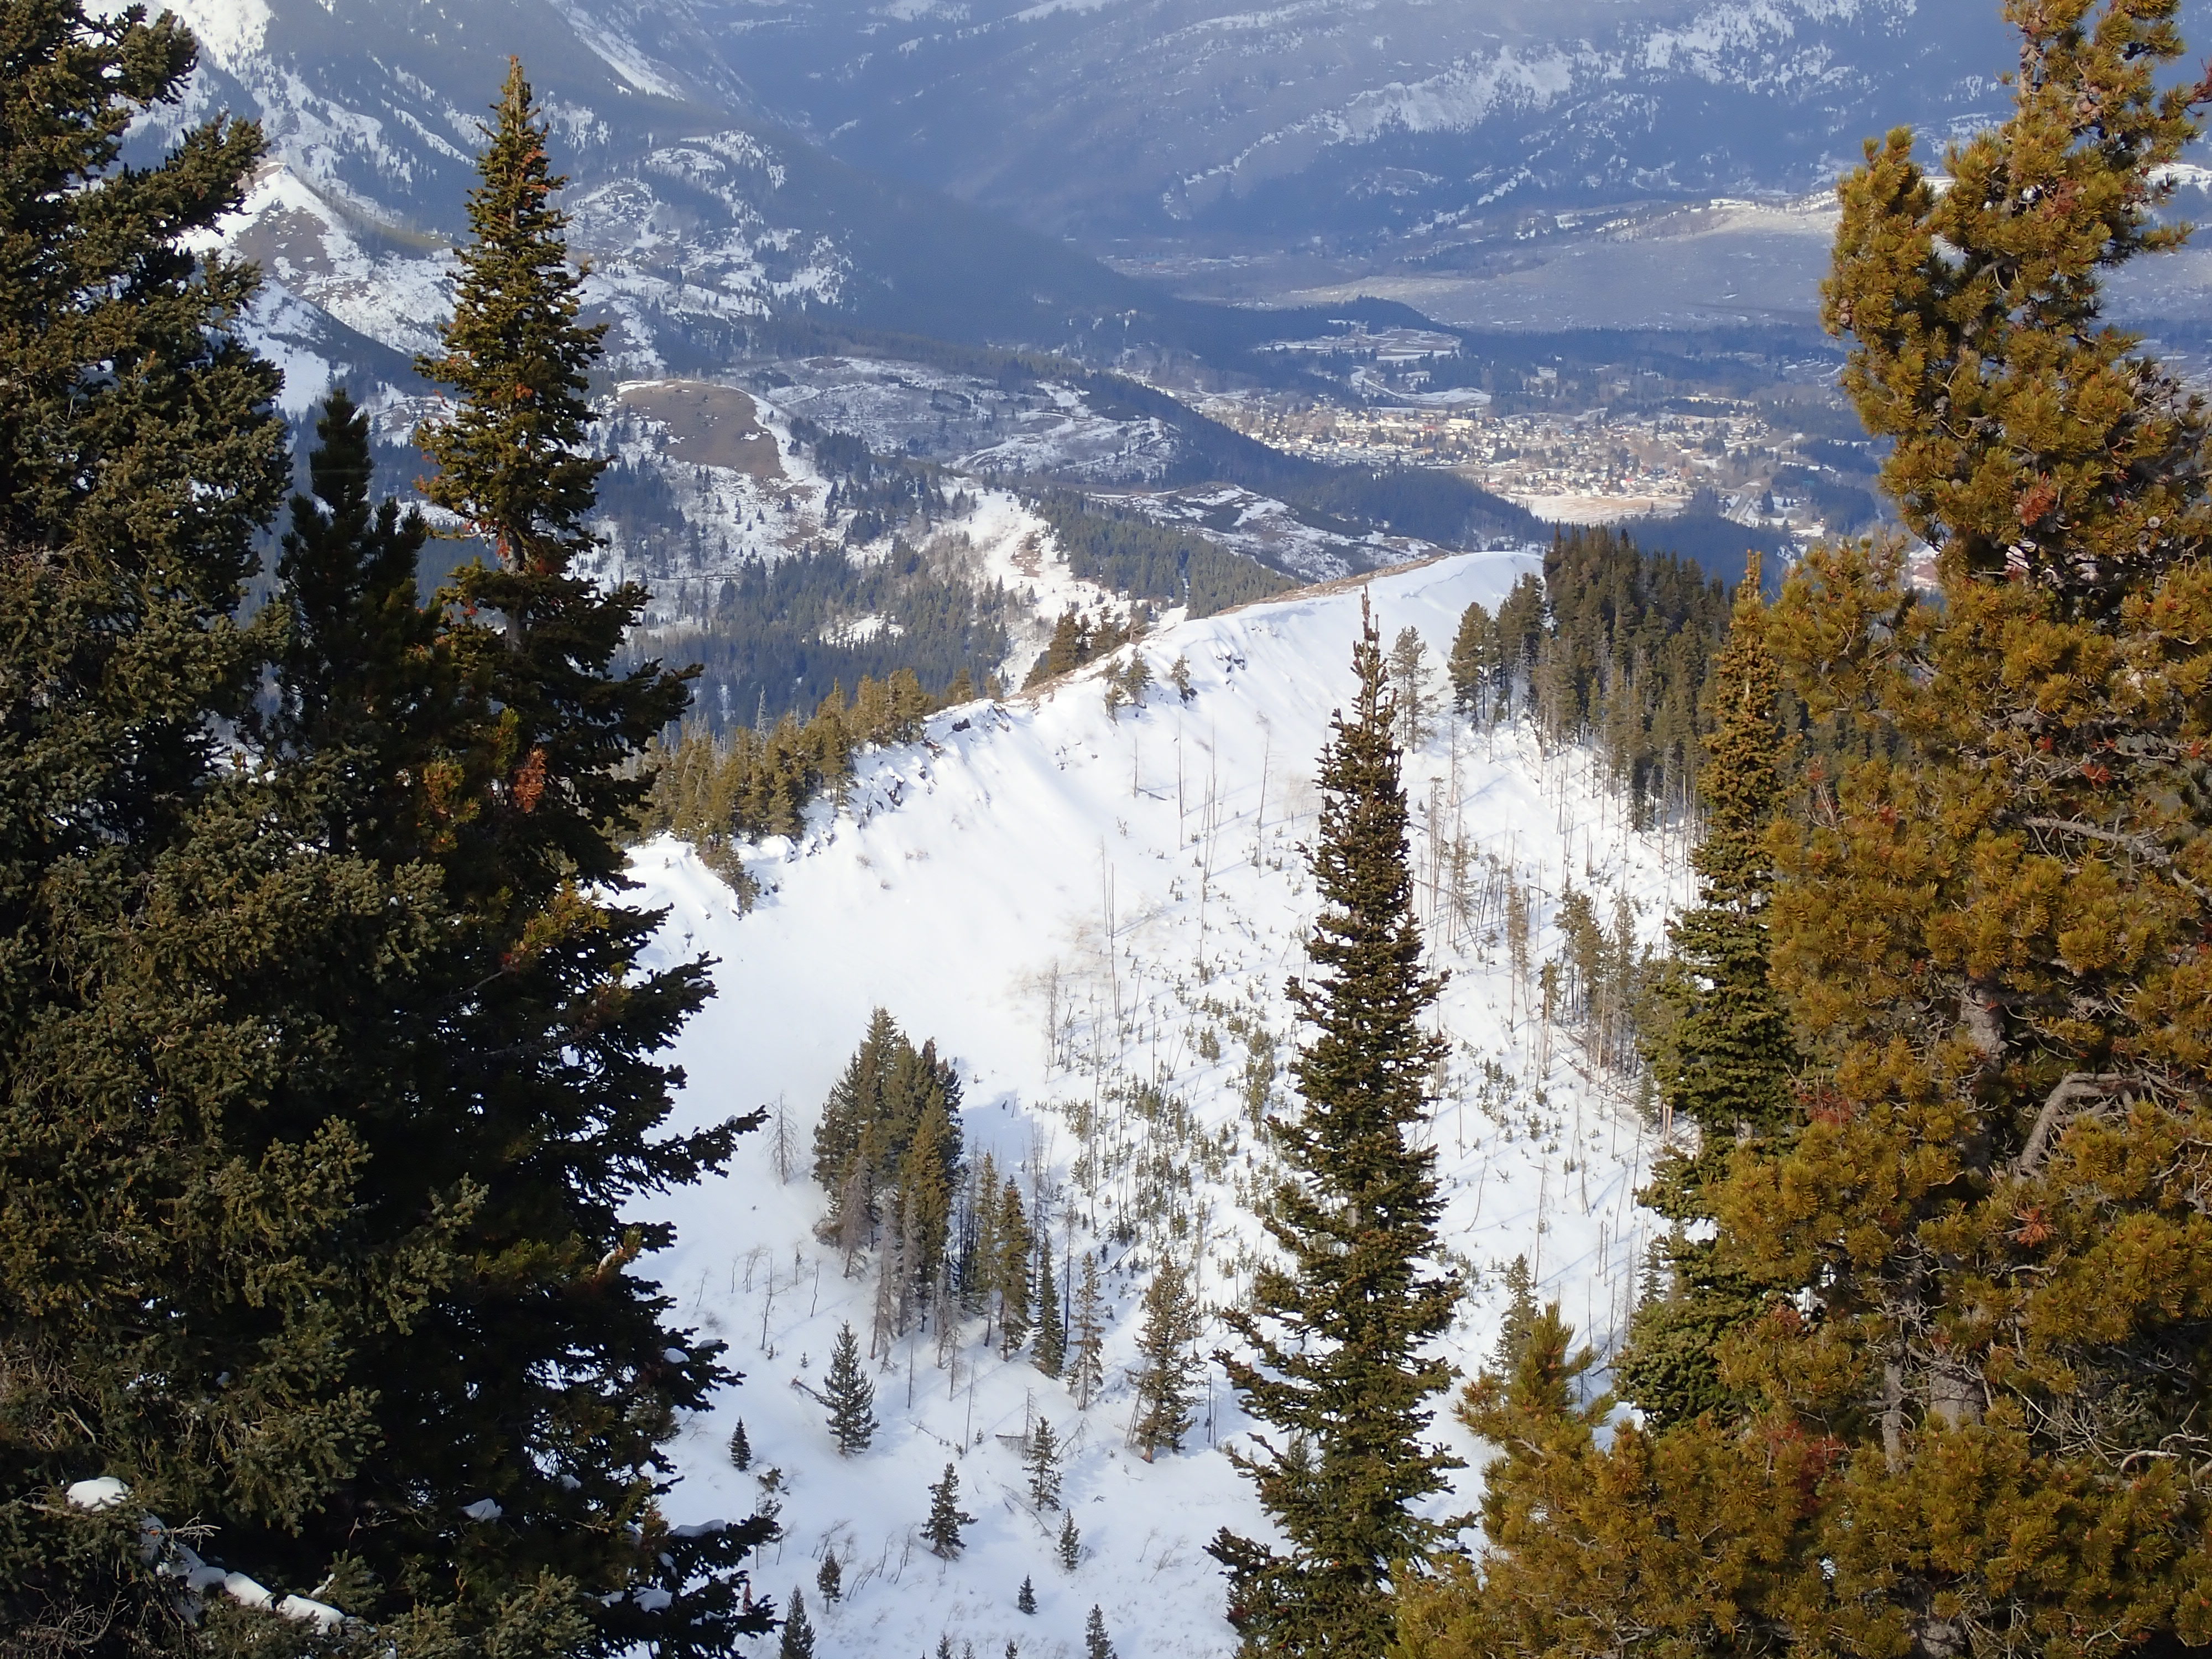
Once up on the ridge, there were some nice views over my shoulder towards Turtle Mountain. Unfortunately, there were clouds rolling in, obscuring the big peaks of the Crowsnest Pass and the Castle. On the other hand, once up on the ridge the actual objective, the summit of Byron Hill, finally came into view. Following the ridge was easy enough. The wind had created cornices hanging off the lee-ward side of the ridge, so I was careful to stay off those.
Walking along the ridge, there are two high-point visible ahead. The summit is the one on the left. The one on the right is an un-named high point (as far as I know). Just short of the high-points there’s a bit of a saddle, where the road finally reaches the ridge. Continuing along, I found an open snowy slope below the un-named high point. I crossed this, heading towards an opening in the trees. Once I got there, it was obvious I was still on the trail – a straight narrow cutline through the trees headed towards Byron Hill’s summit.
Slogging up the final rise, I eventually saw the small cairn marking the summit. Right on cue, the wind picked up and snow pellets started to hit me. Impressive-looking wisps of cloud and snow were blowing among the peaks to the south. Directly west, the Crowsnest peaks were further obscured. It was hard to tell if this was going to be a passing squall or the start of something more significant, so I didn’t linger too long on the top. For my return trip I decided to follow the road all the way down. Byron Creek and its steep little valley presented one final trial before I finally got back to my car.
Click on the pictures in the gallery below to access full-sized images.


Very nice blog and the pictures of you trek.
Please think safety.
LikeLike